AWS Computing Resource Setup
Short Version
Start a new AWS instance (we recommend m4.large) with ami-9d3614f8. Allow inbound traffic on port 80. Navigate to the instance's public IP for a Jupyter installation with NUPACK pre-configured.
Important: Please be sure to stop (not terminate) your instance when not in use.
Registering for an AWS Account
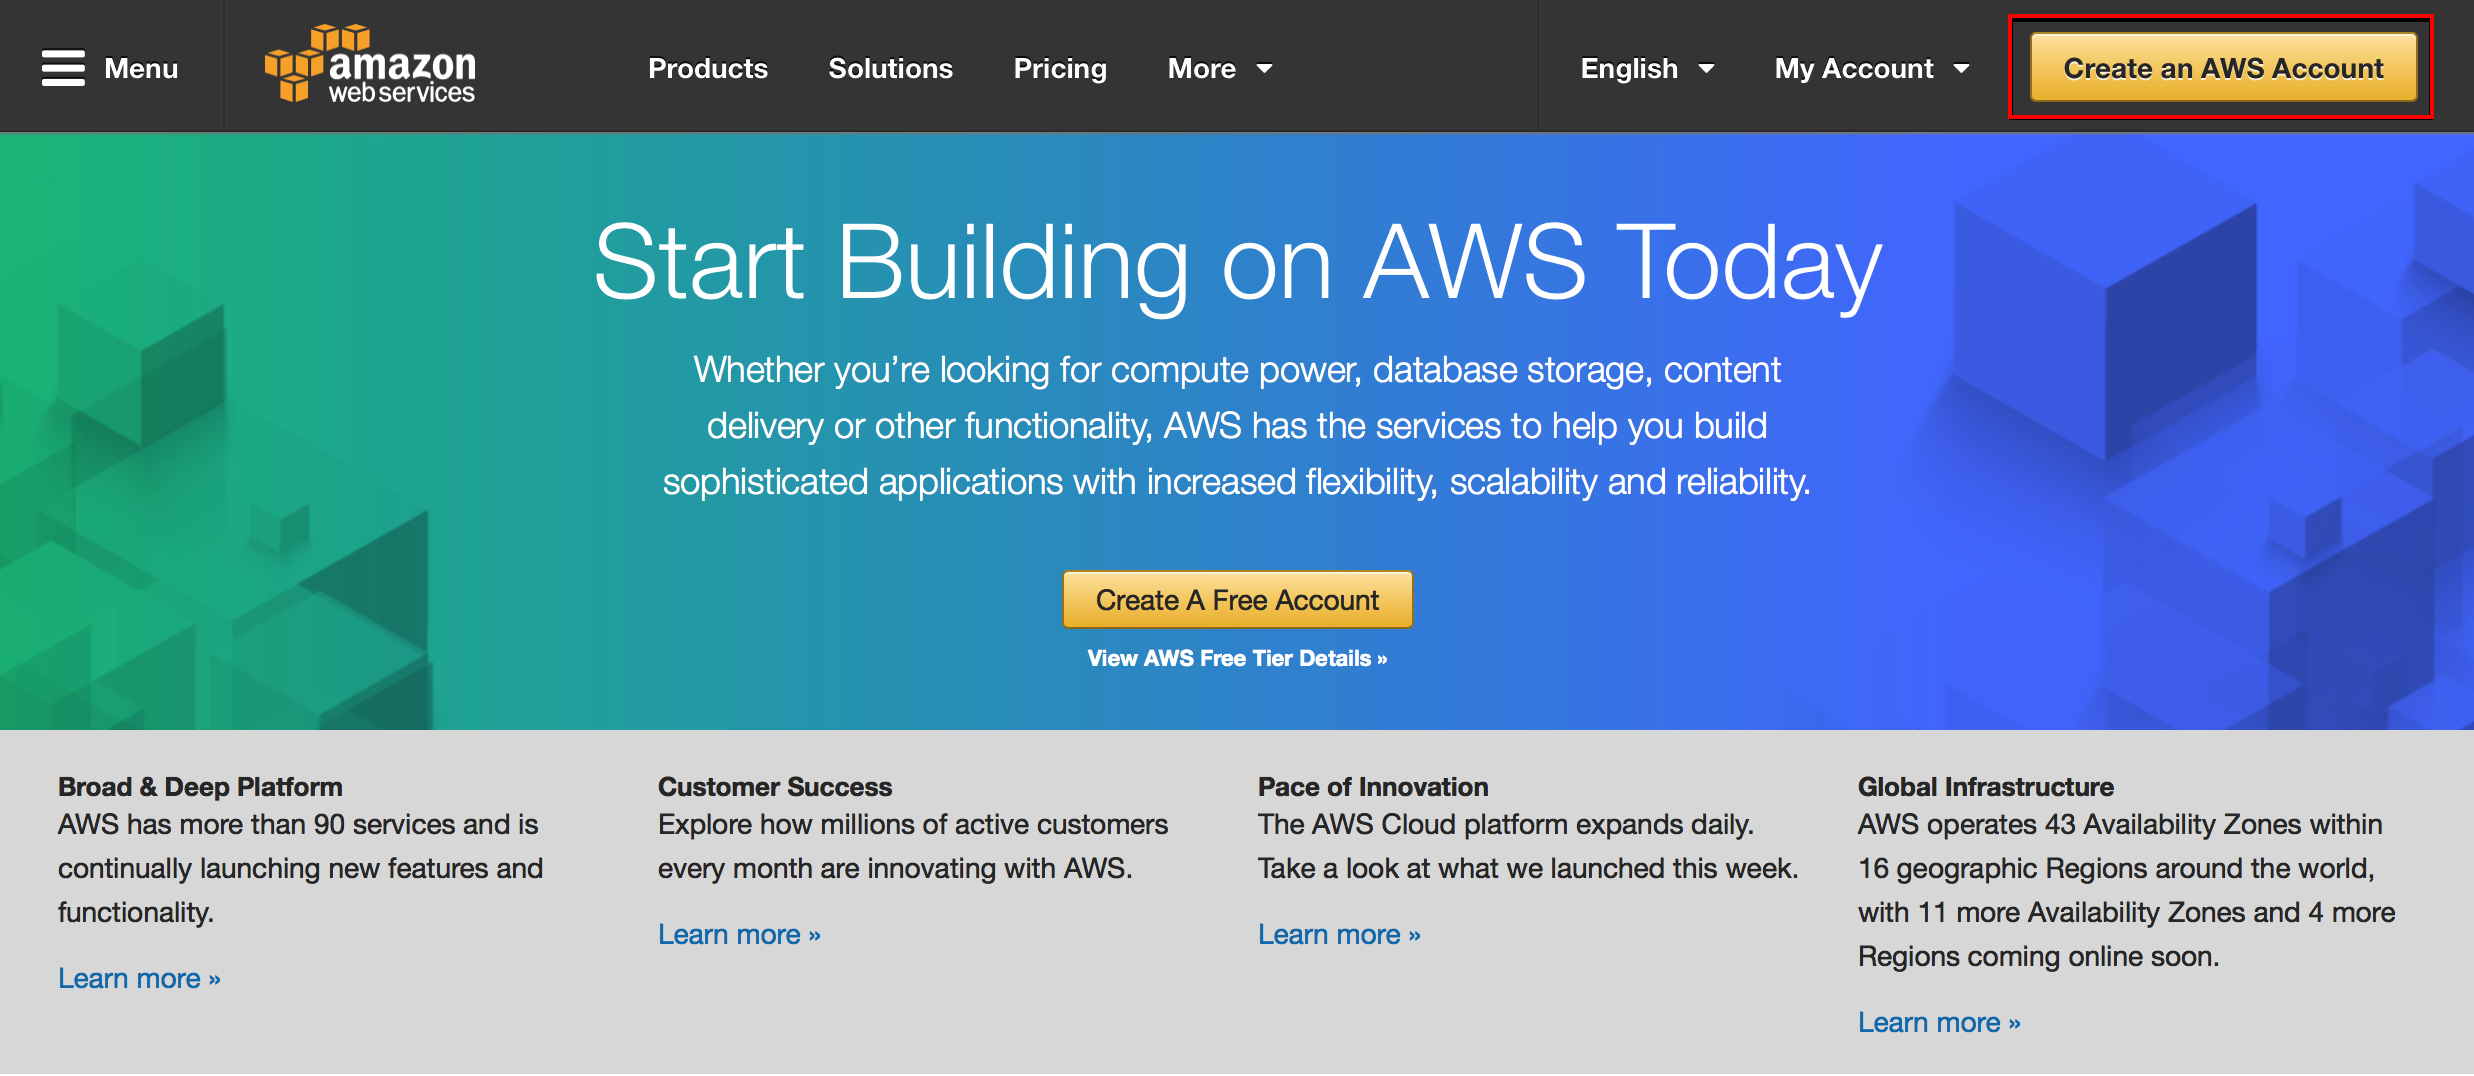
Visit https://aws.amazon.com and click on the Create AWS Account button.
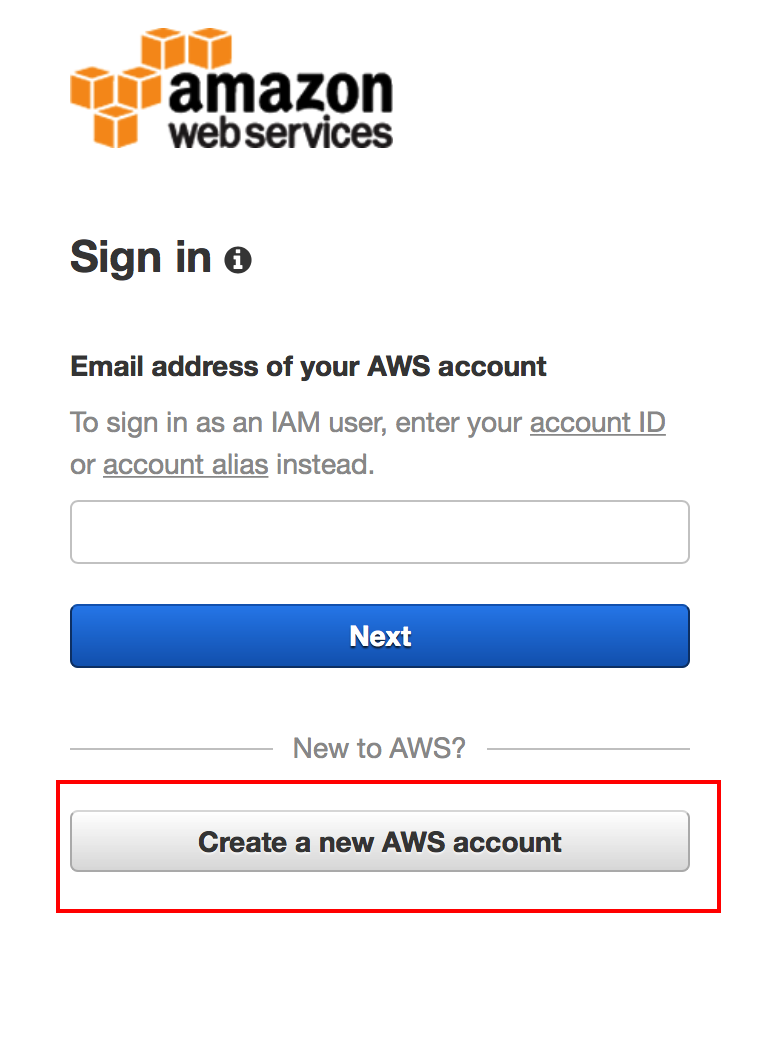
Click on Create New AWS Account.
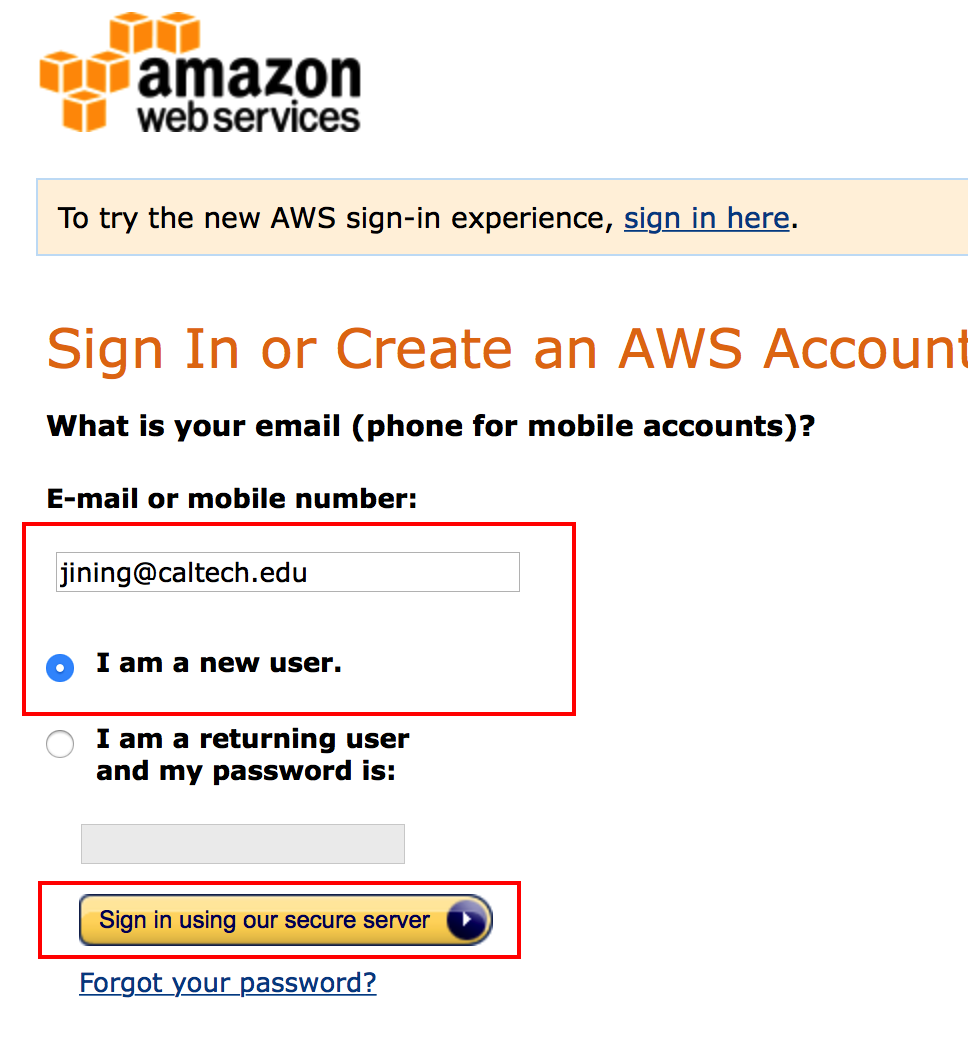
Input your email address and select I am a new user. If you wish to use your pre-existing Amazon account, login here and skip to step 5.
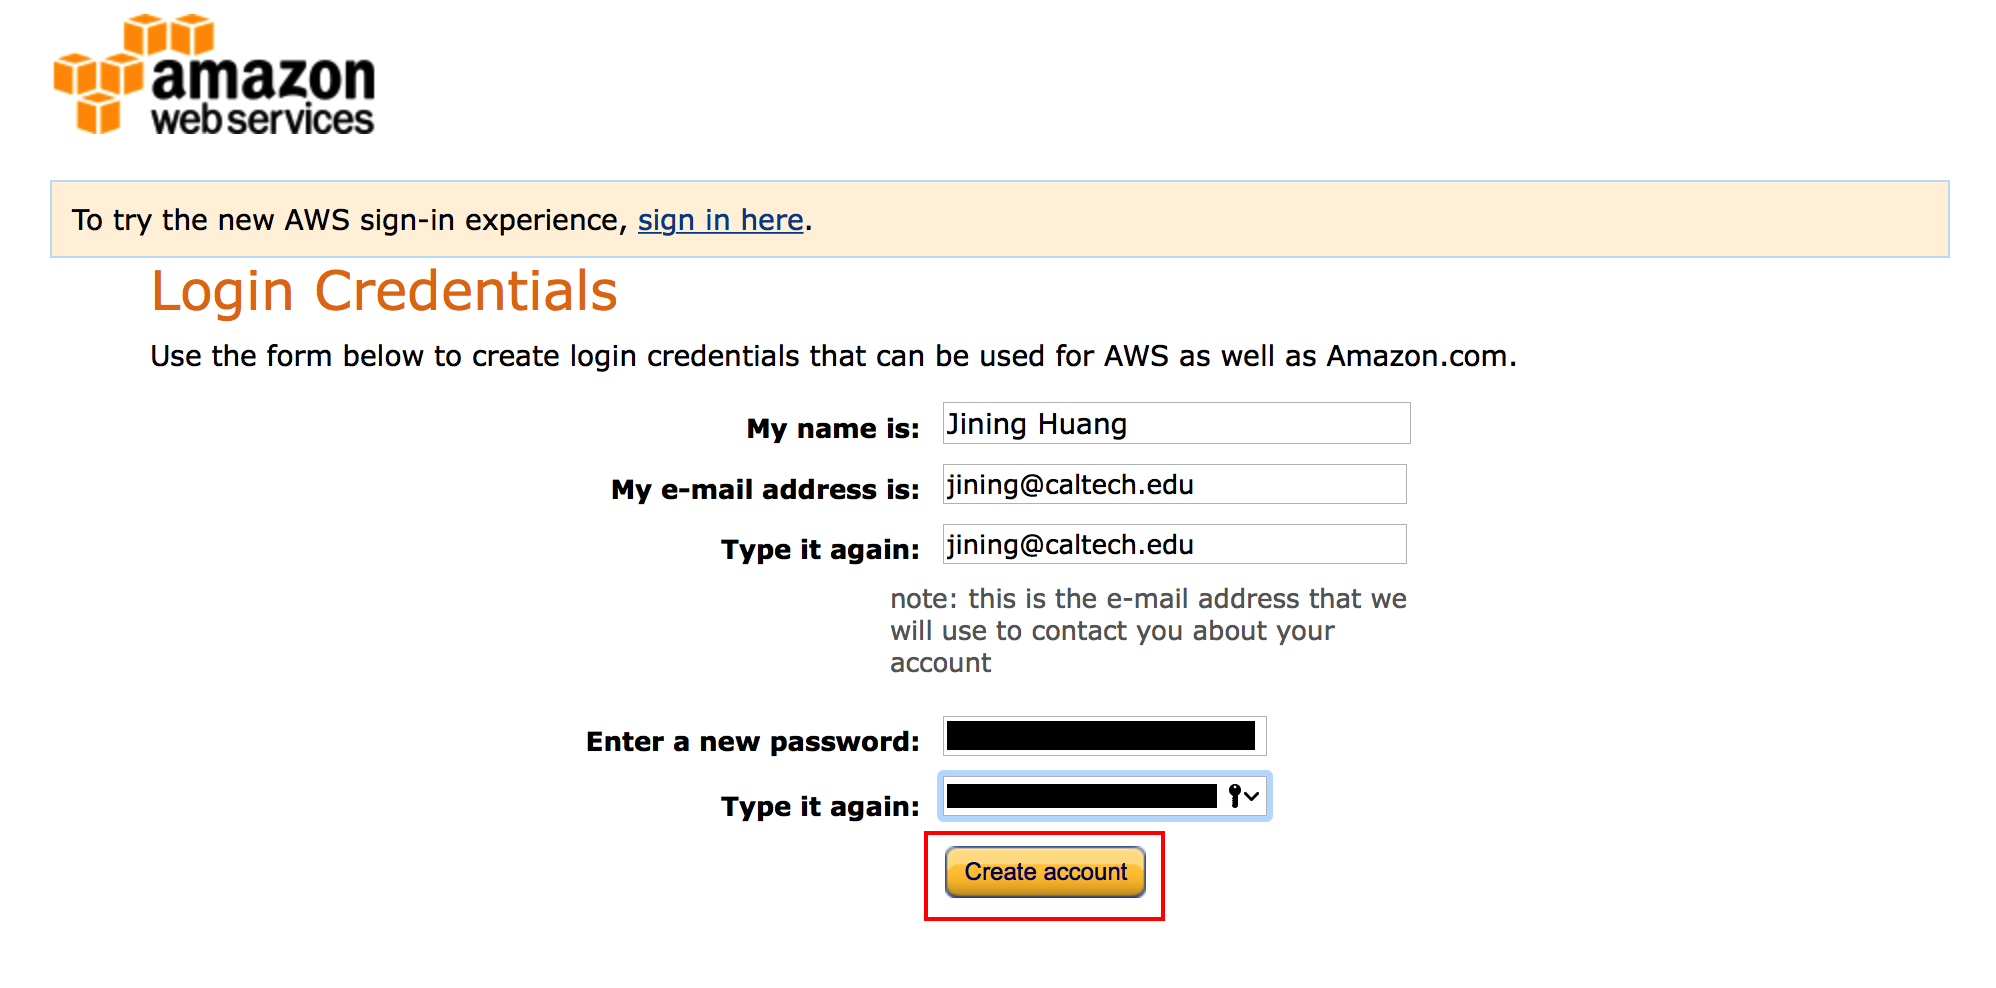
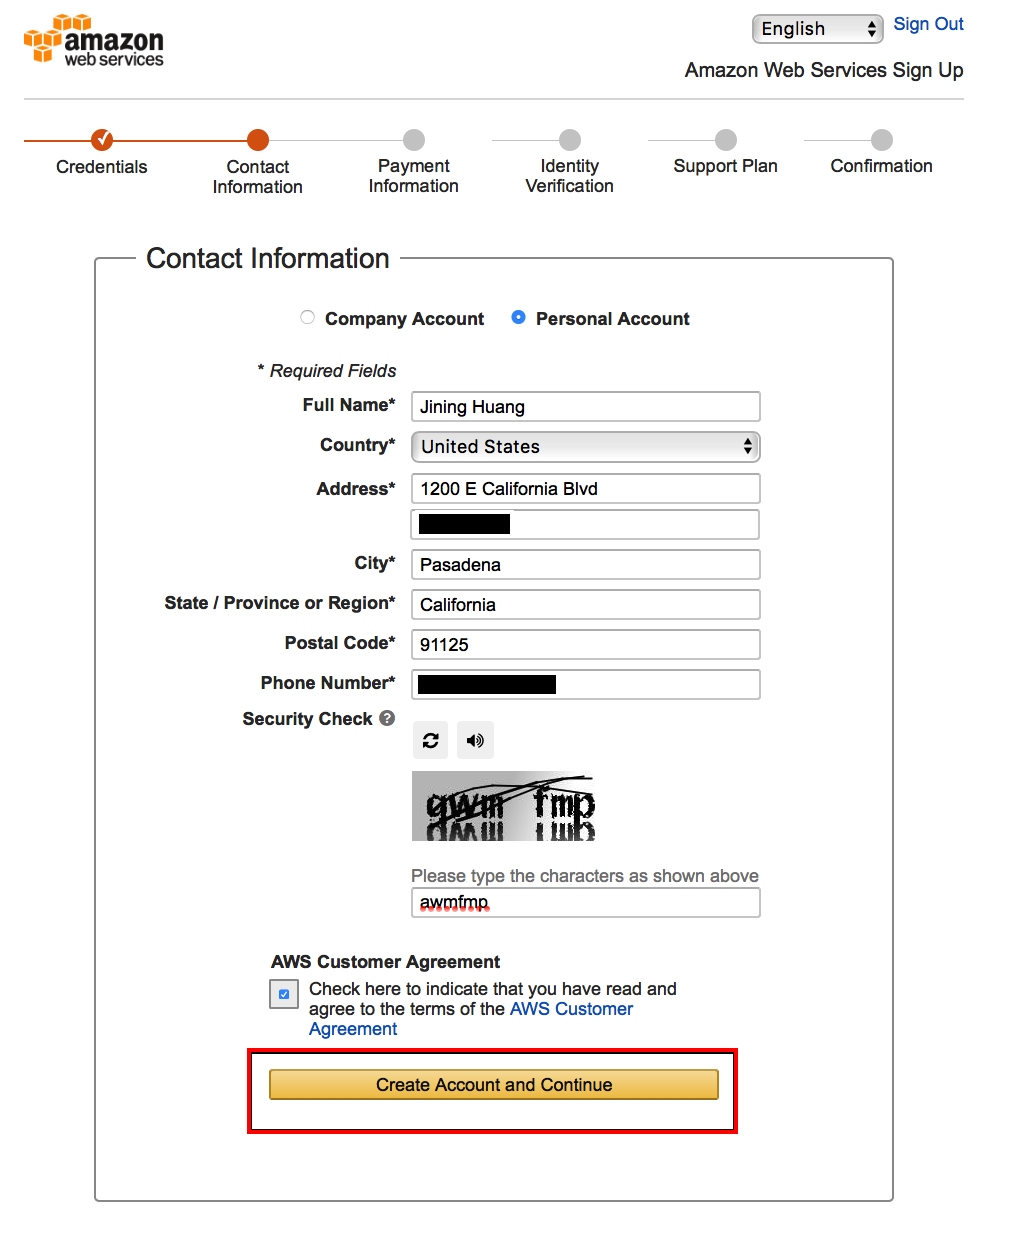
Input some rudimentary personal info.
Input some advanced personal info.
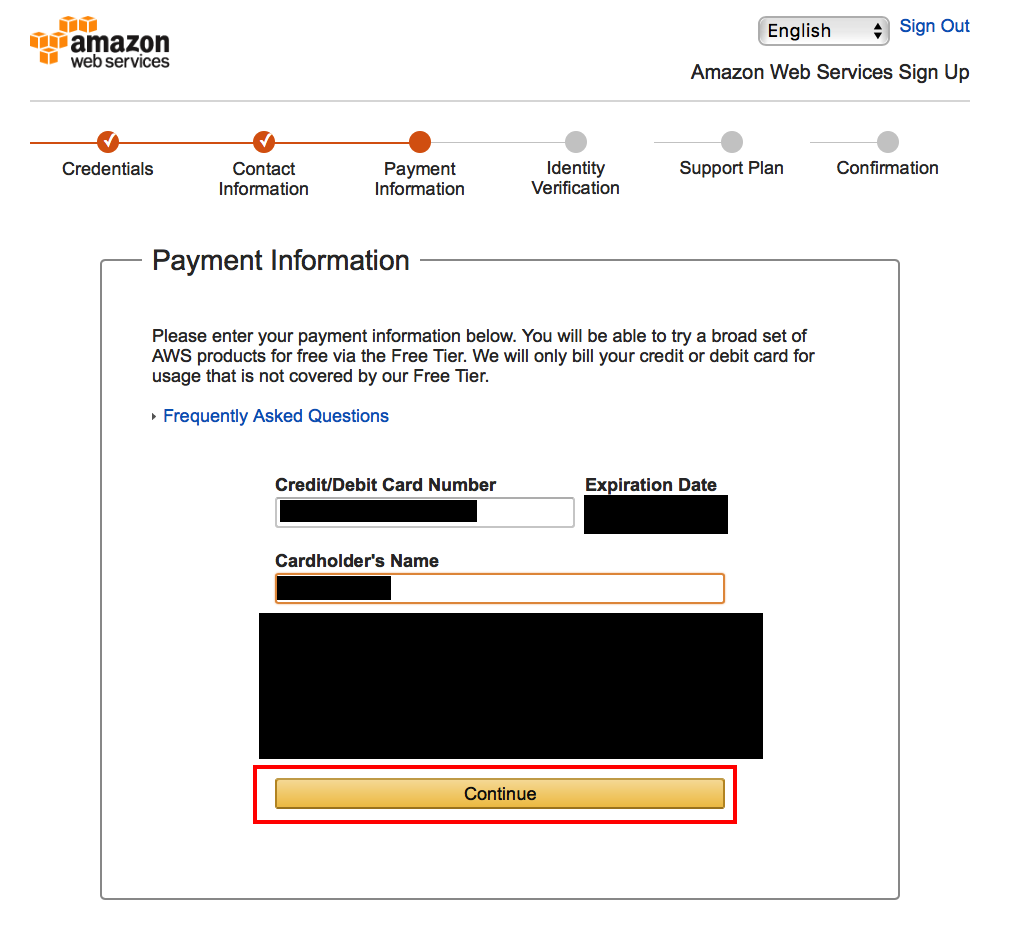
Input payment information.
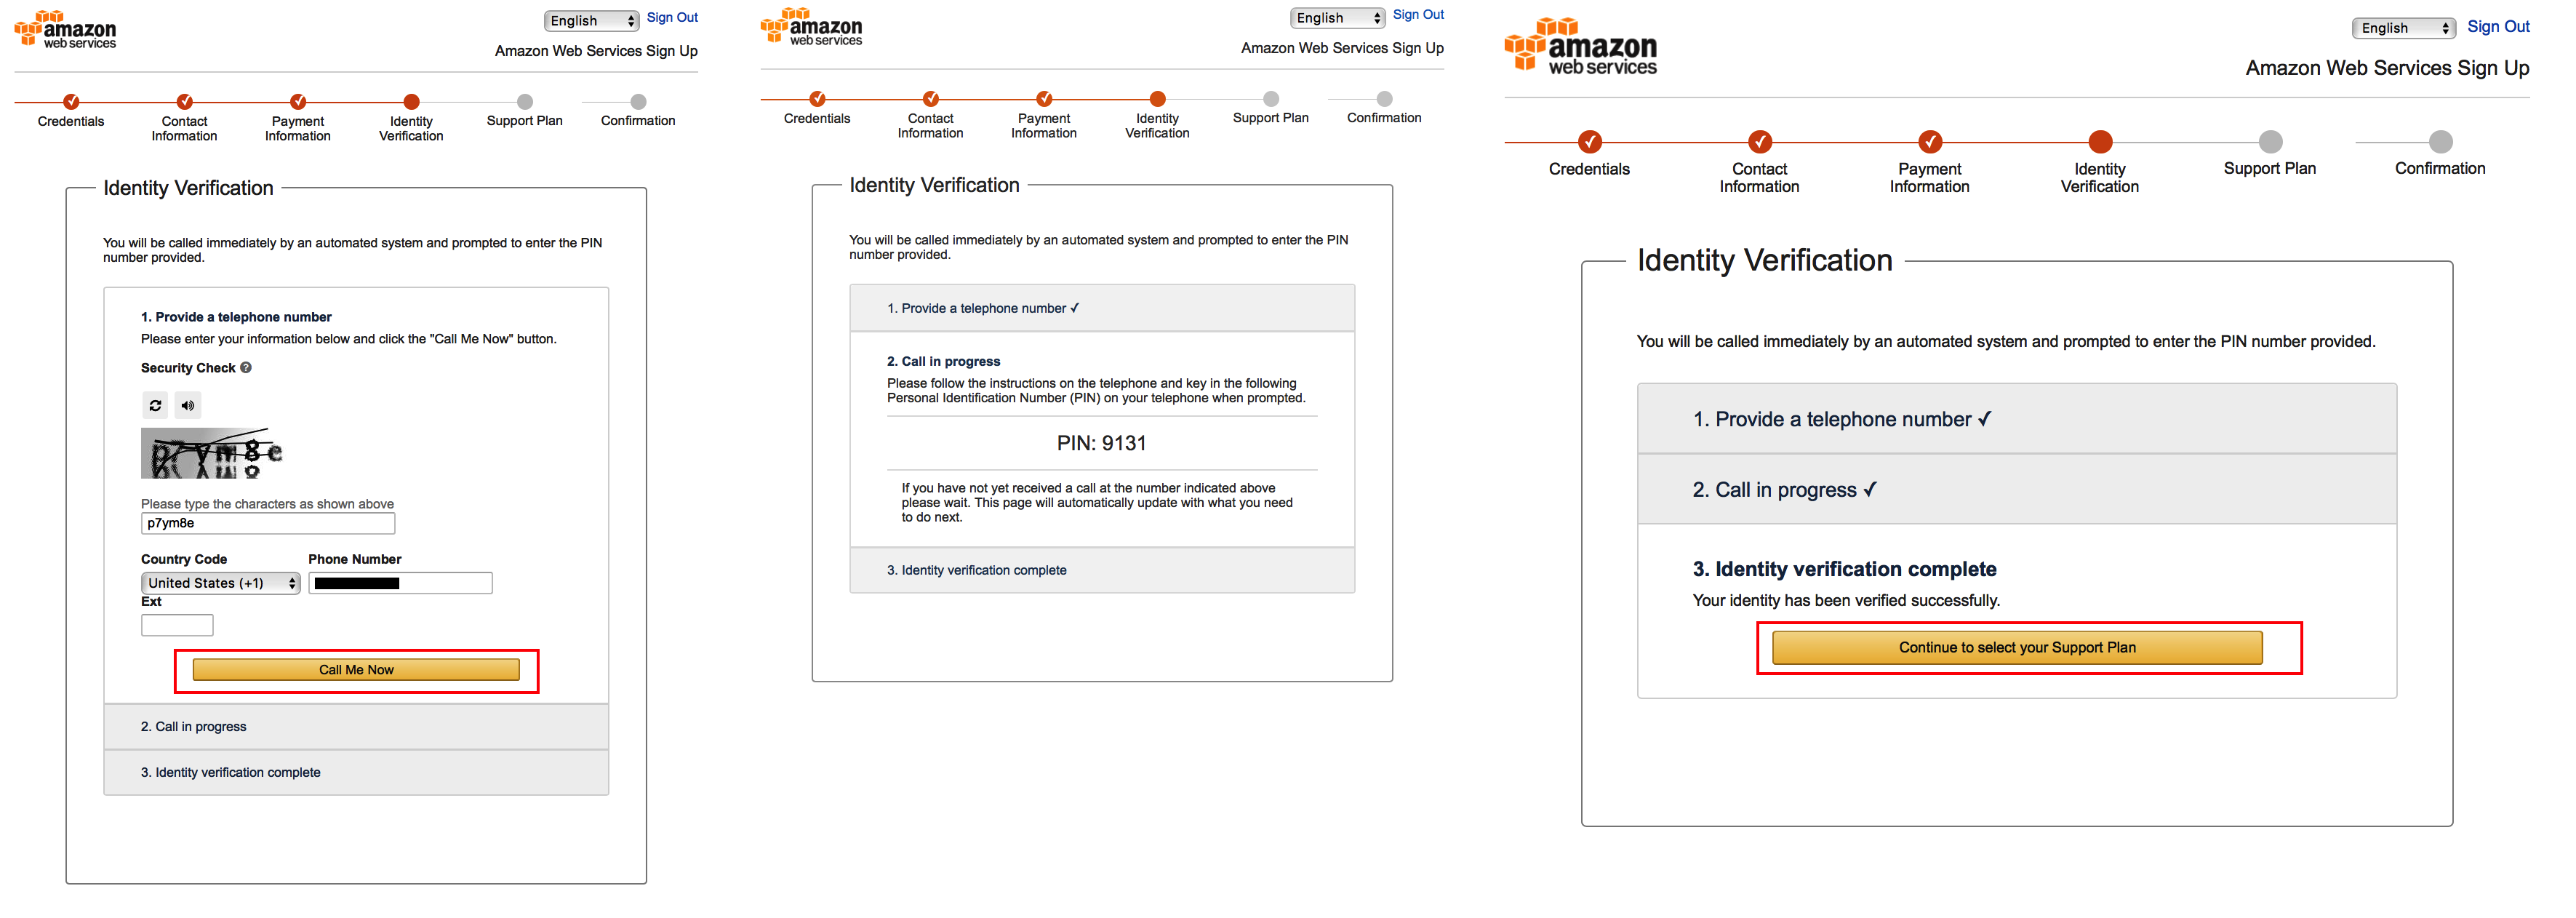
Input your phone number, wait for a call from Amazon, and input the pin displayed on screen with your keypad.
Select the basic (free) support plan.

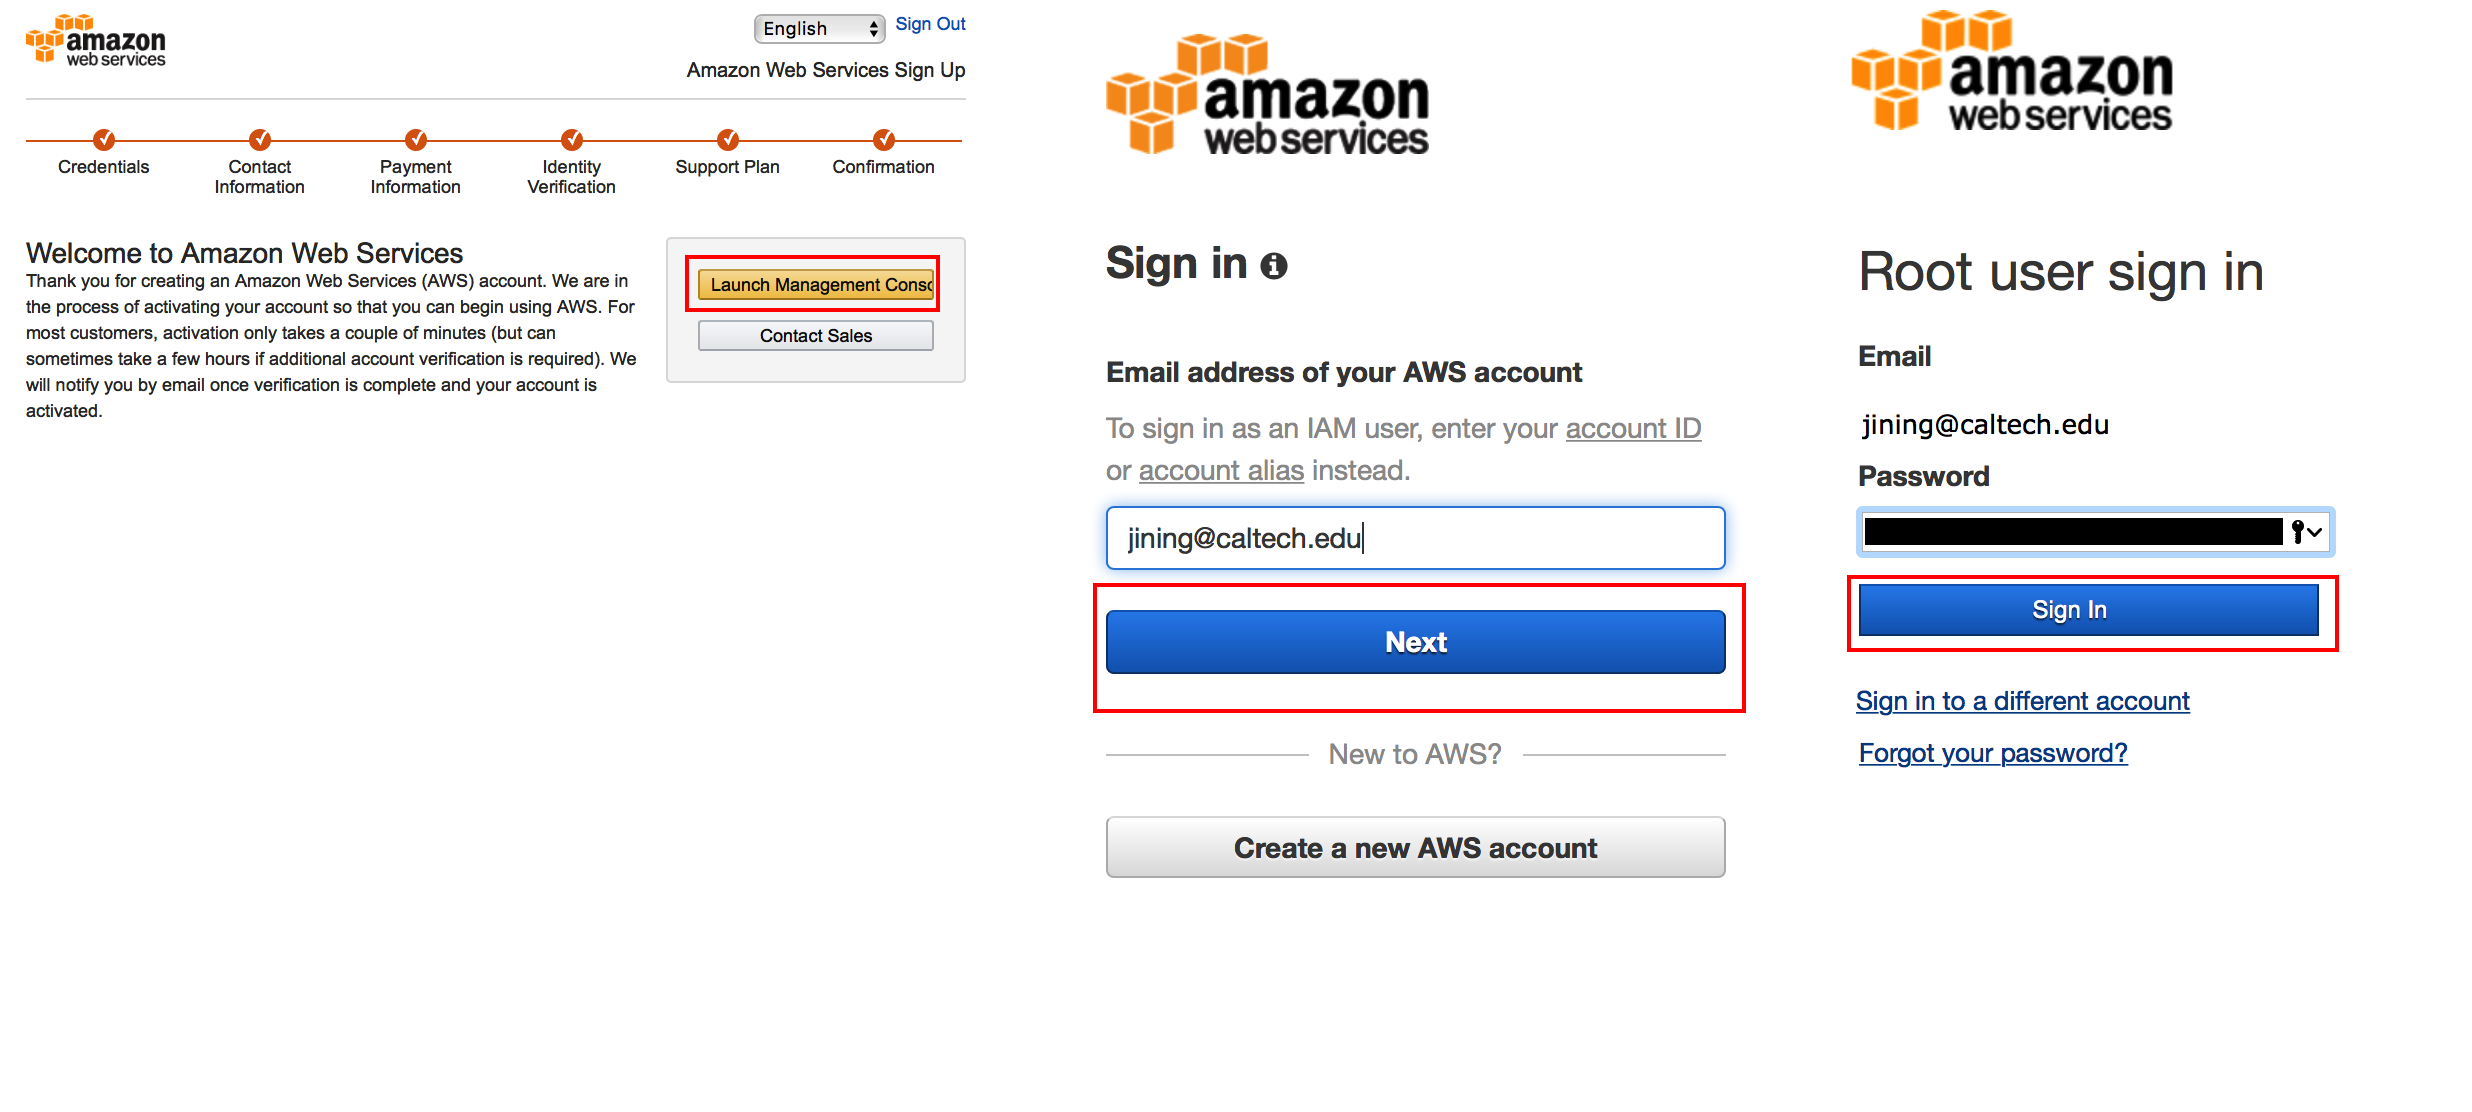
Select Launch management console and login.
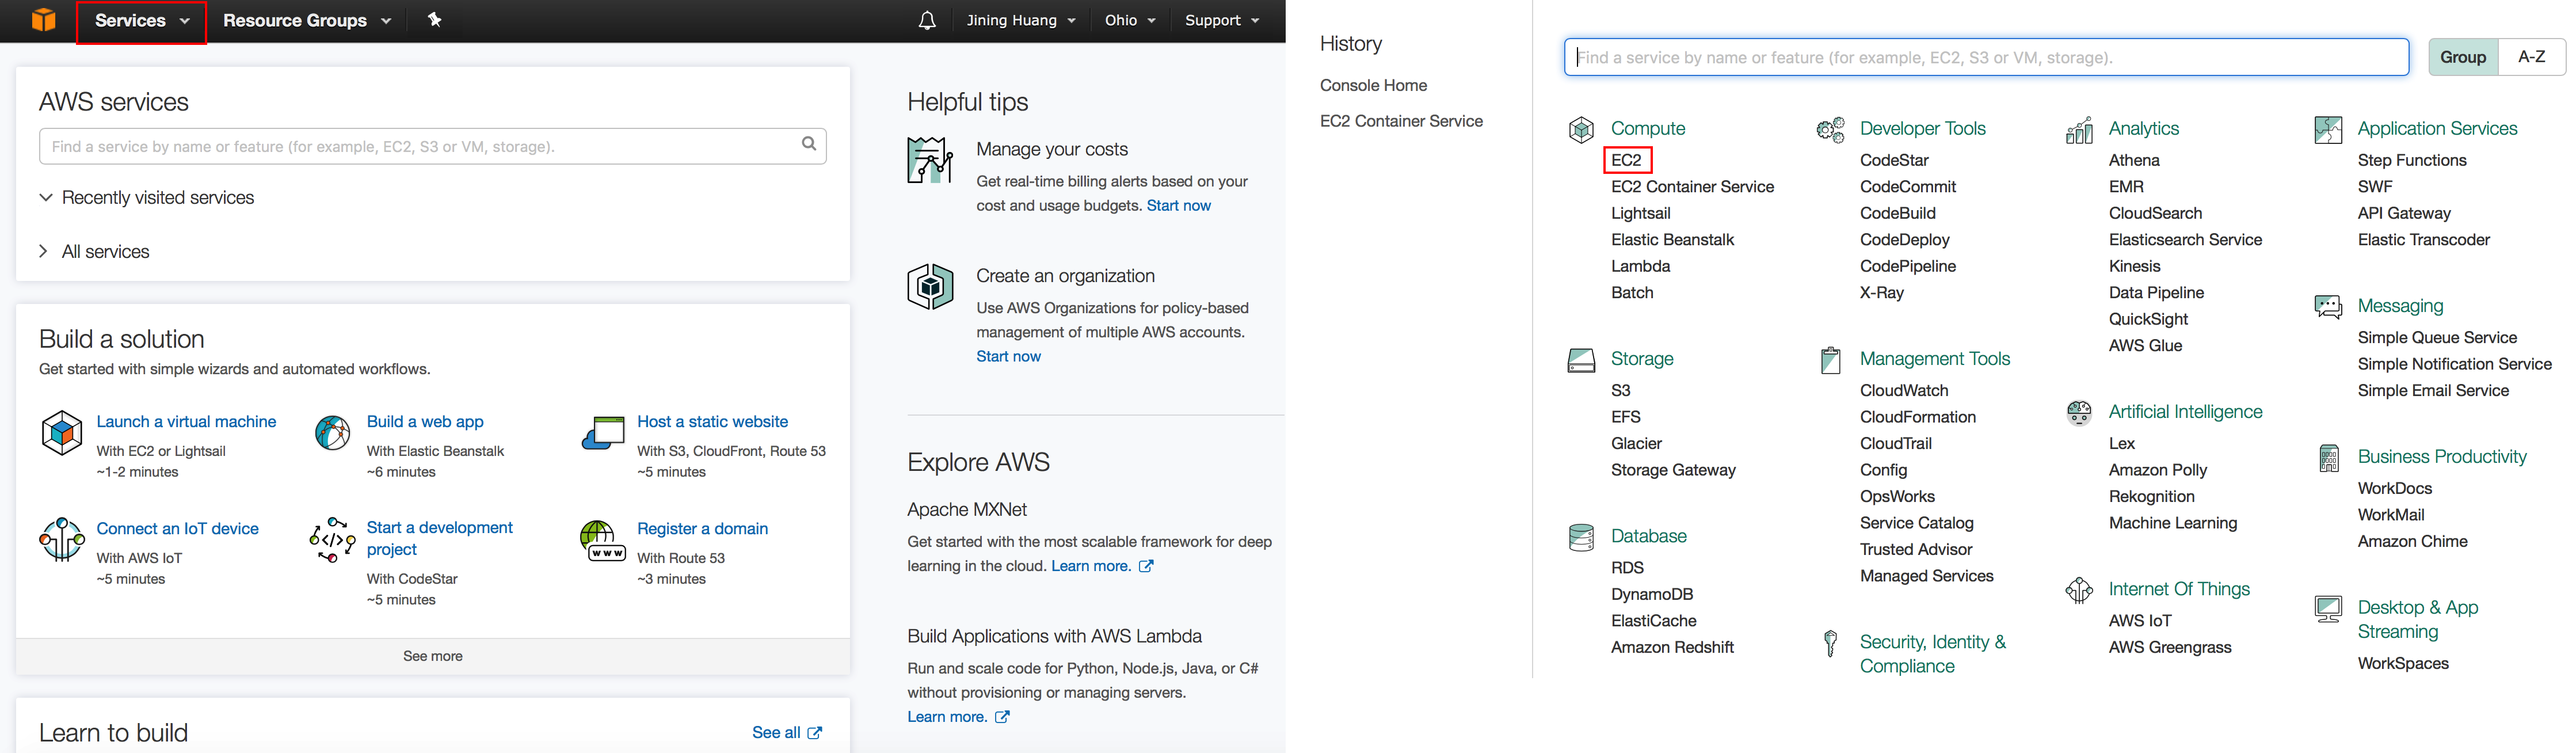
Click on Service, then EC2.
Starting an Instance
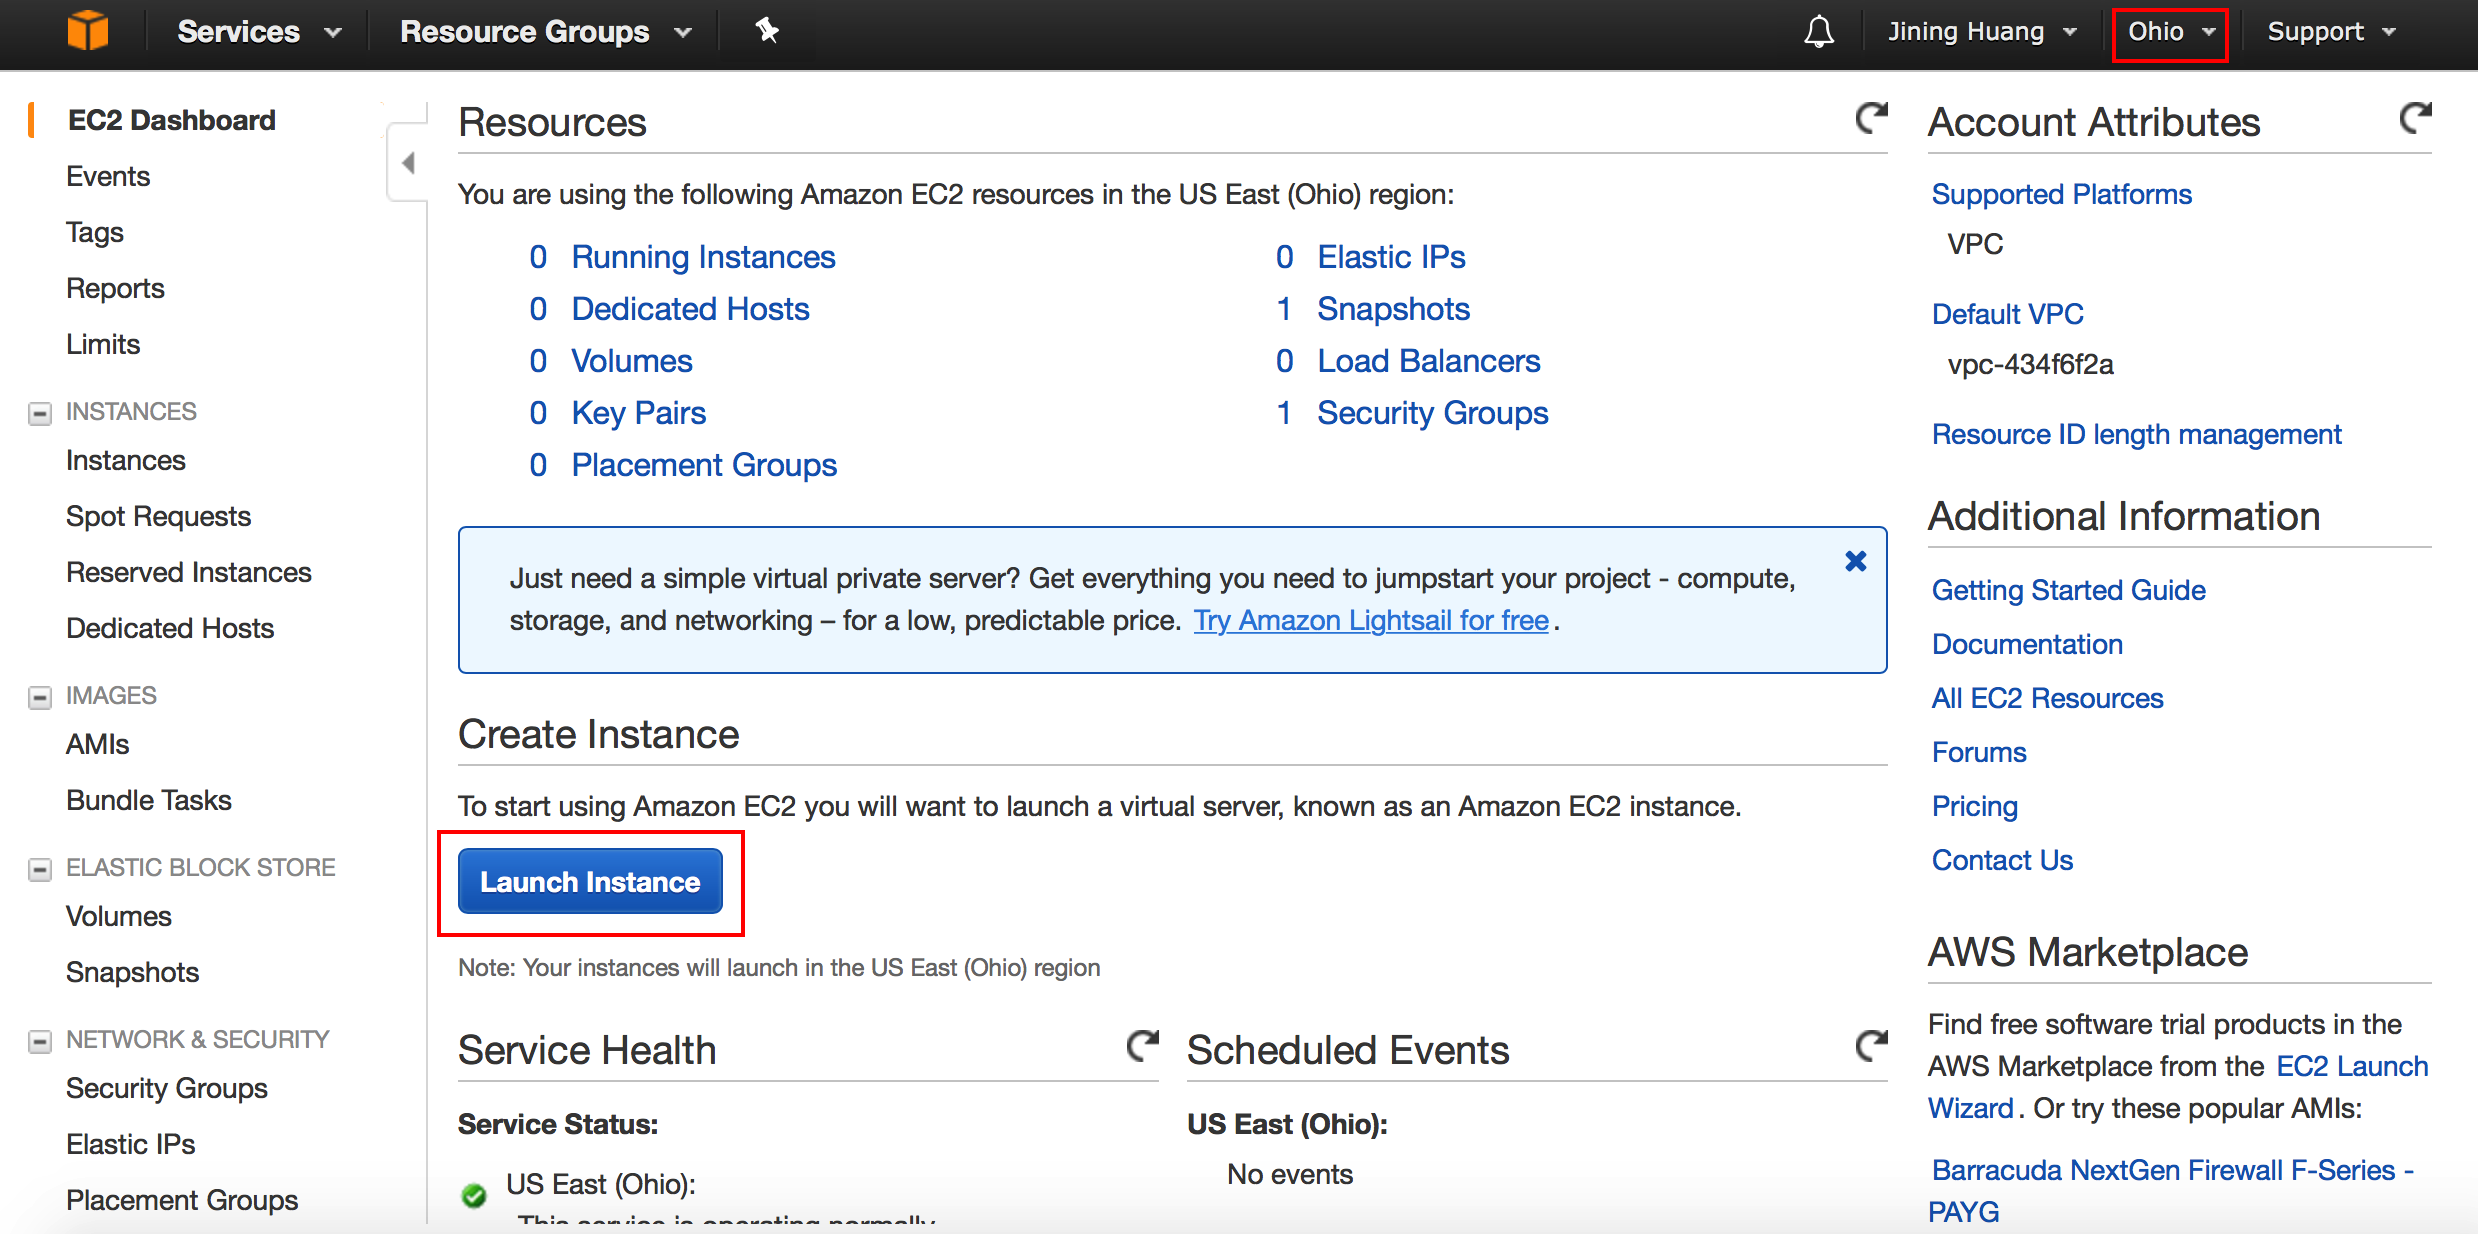
Make certain that the Ohio region is selected in the top right corner, then click Launch Instance.
Click Community AMIs, then search for ami-9d3614f8 and press enter, press select on the search result. By selecting this image, you agree to NUPACK's Software License Agreement (http://www.nupack.org/downloads/register).

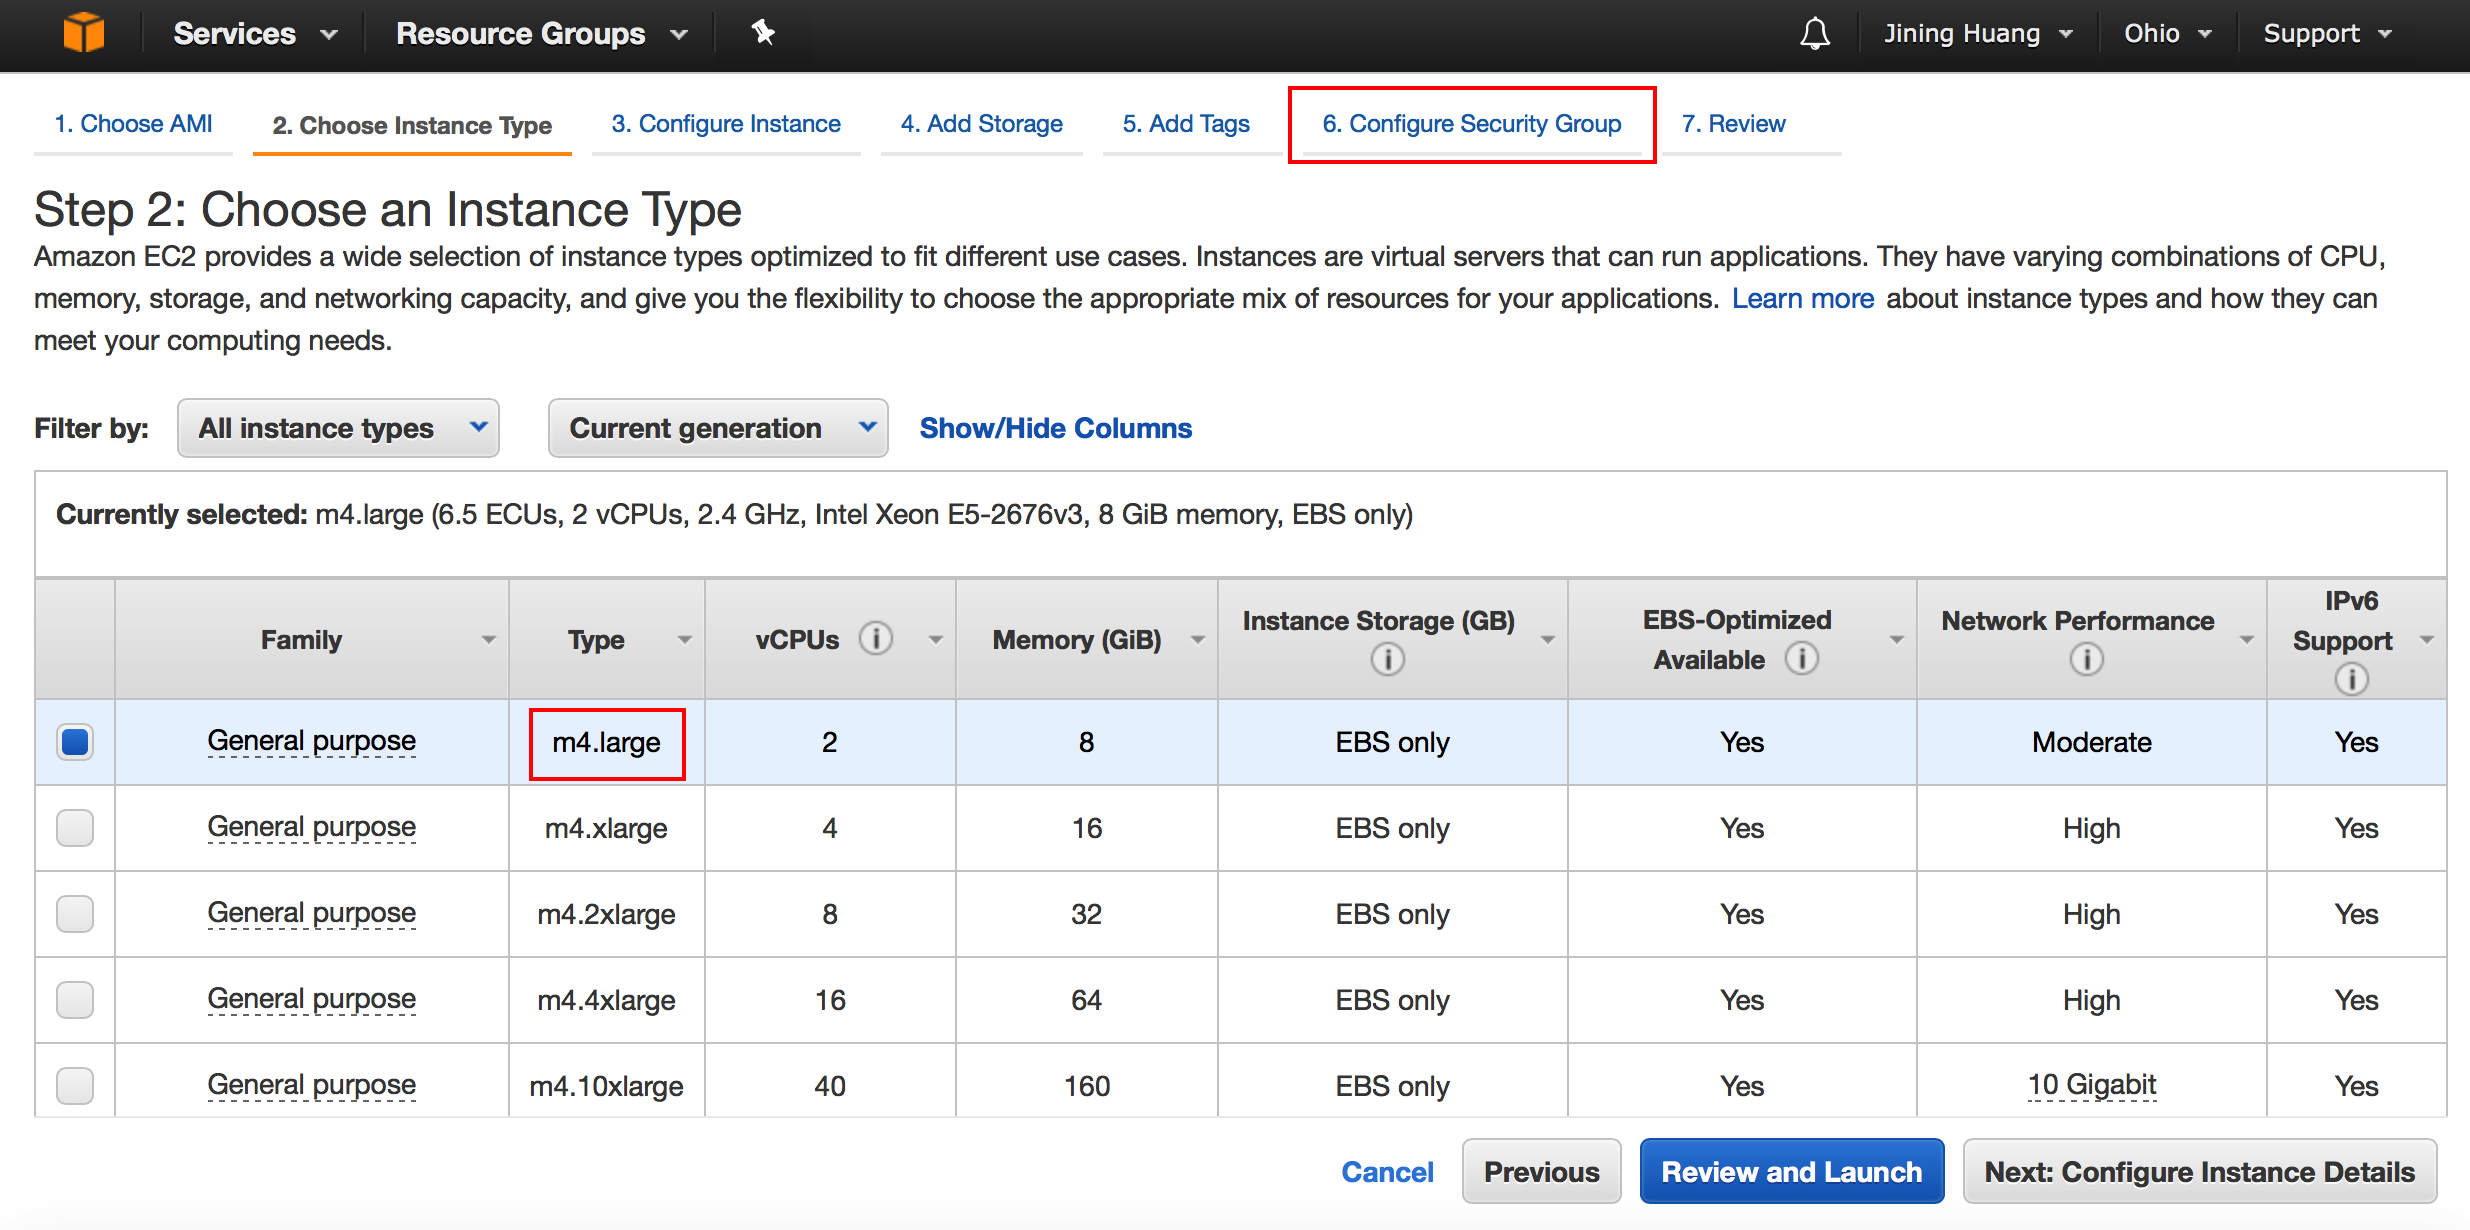
Make sure m4.large is selected and click on Configure Security Group.
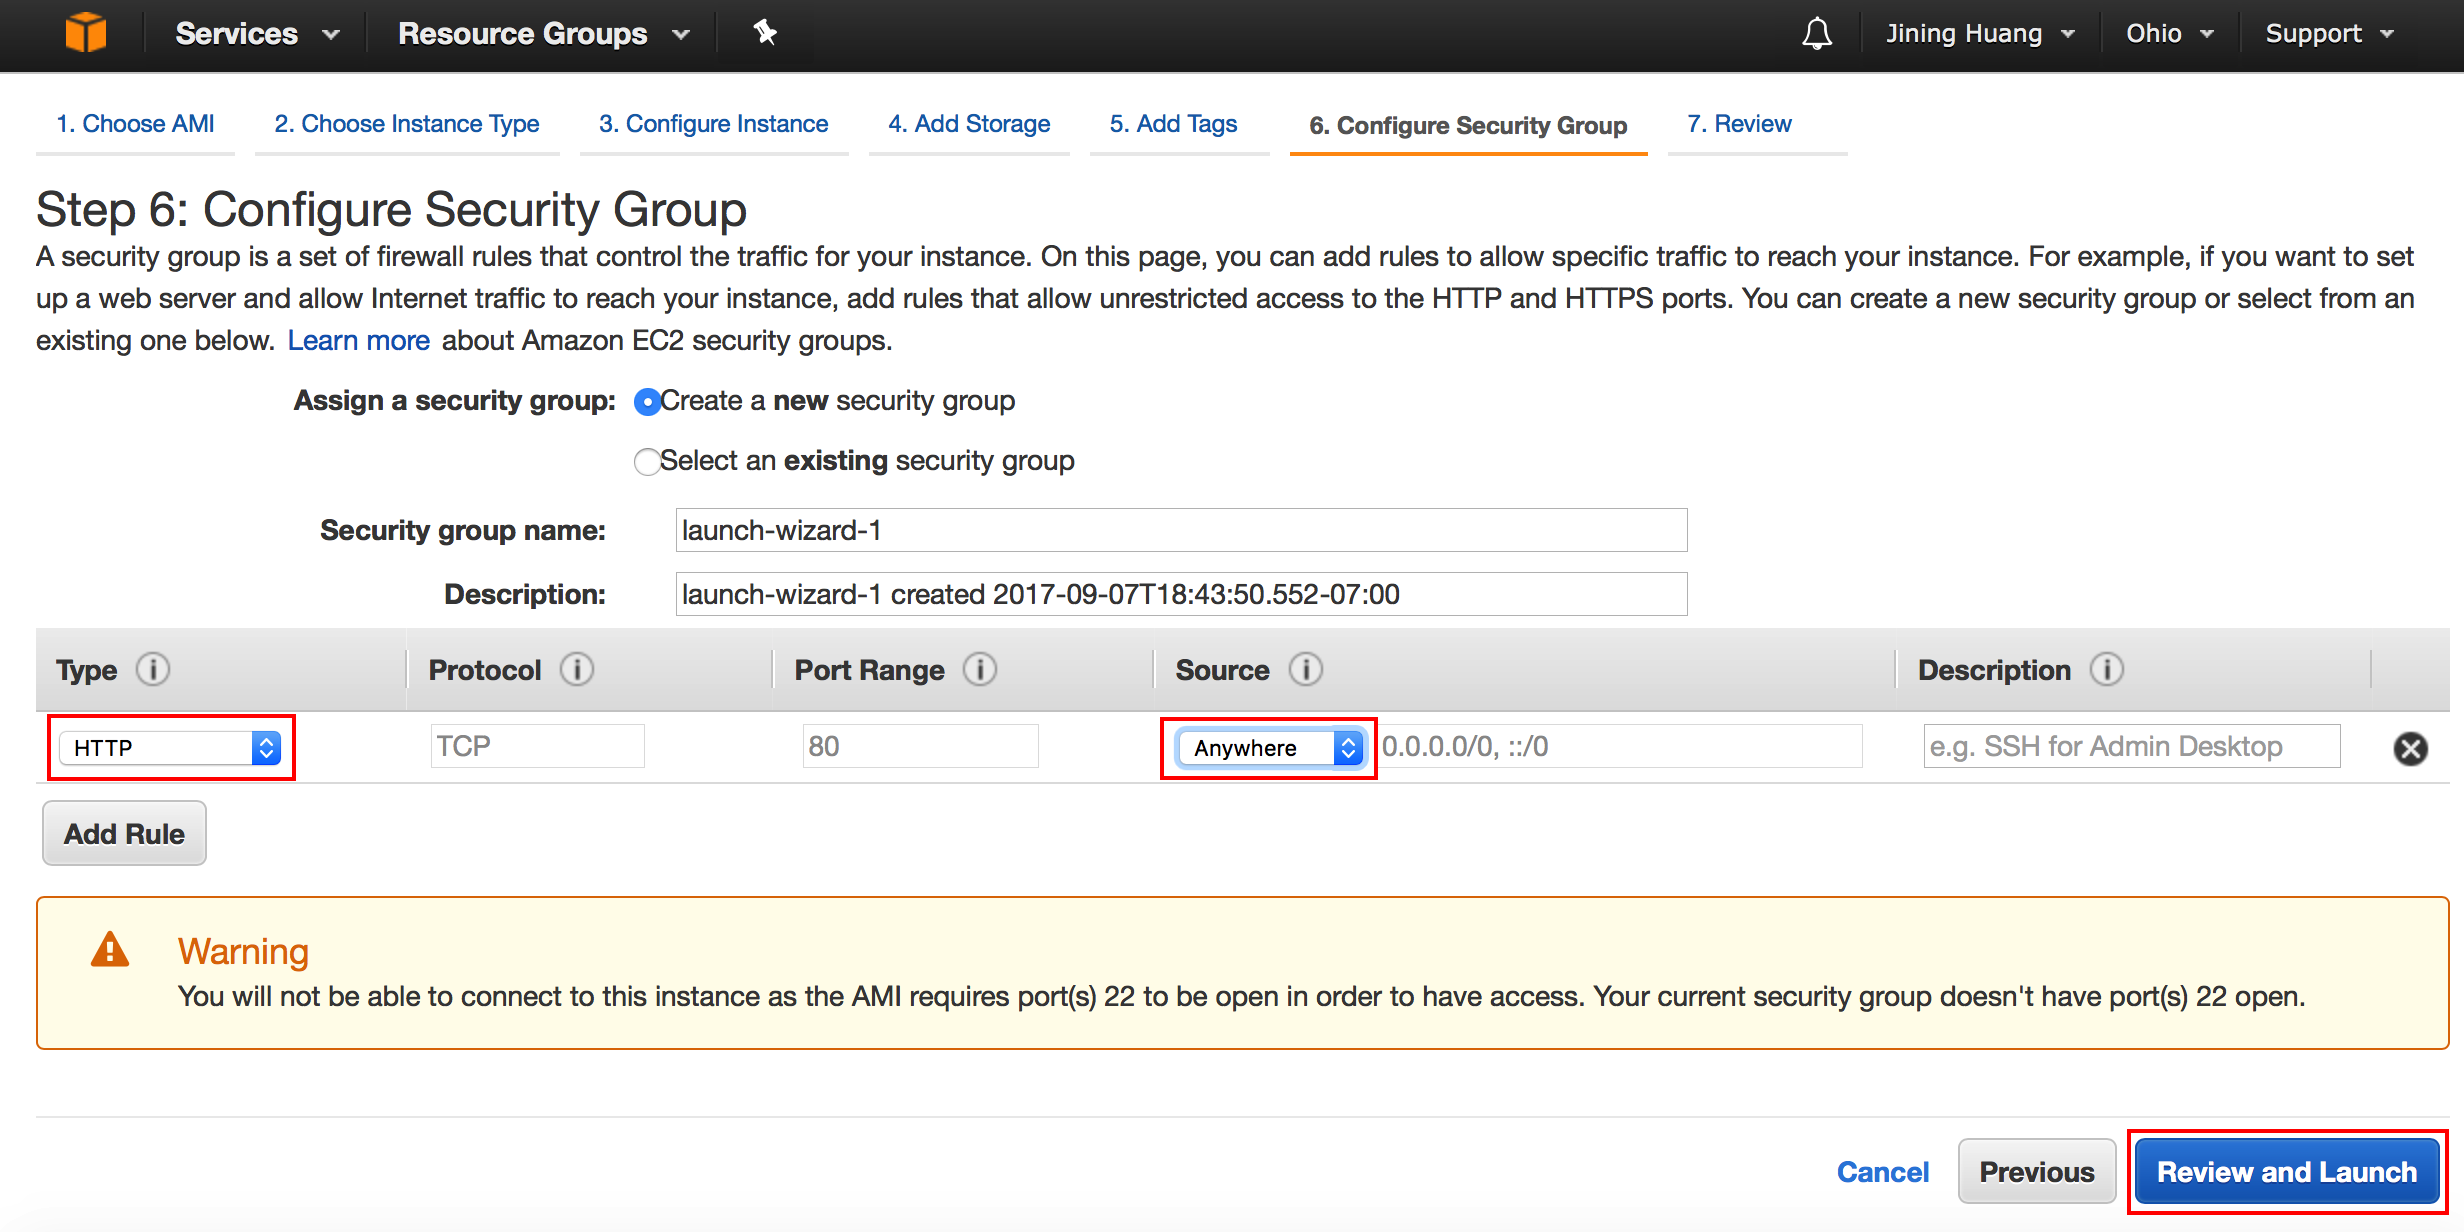
Select HTTP and anywhere in the boxes shown, then click Review and Launch.
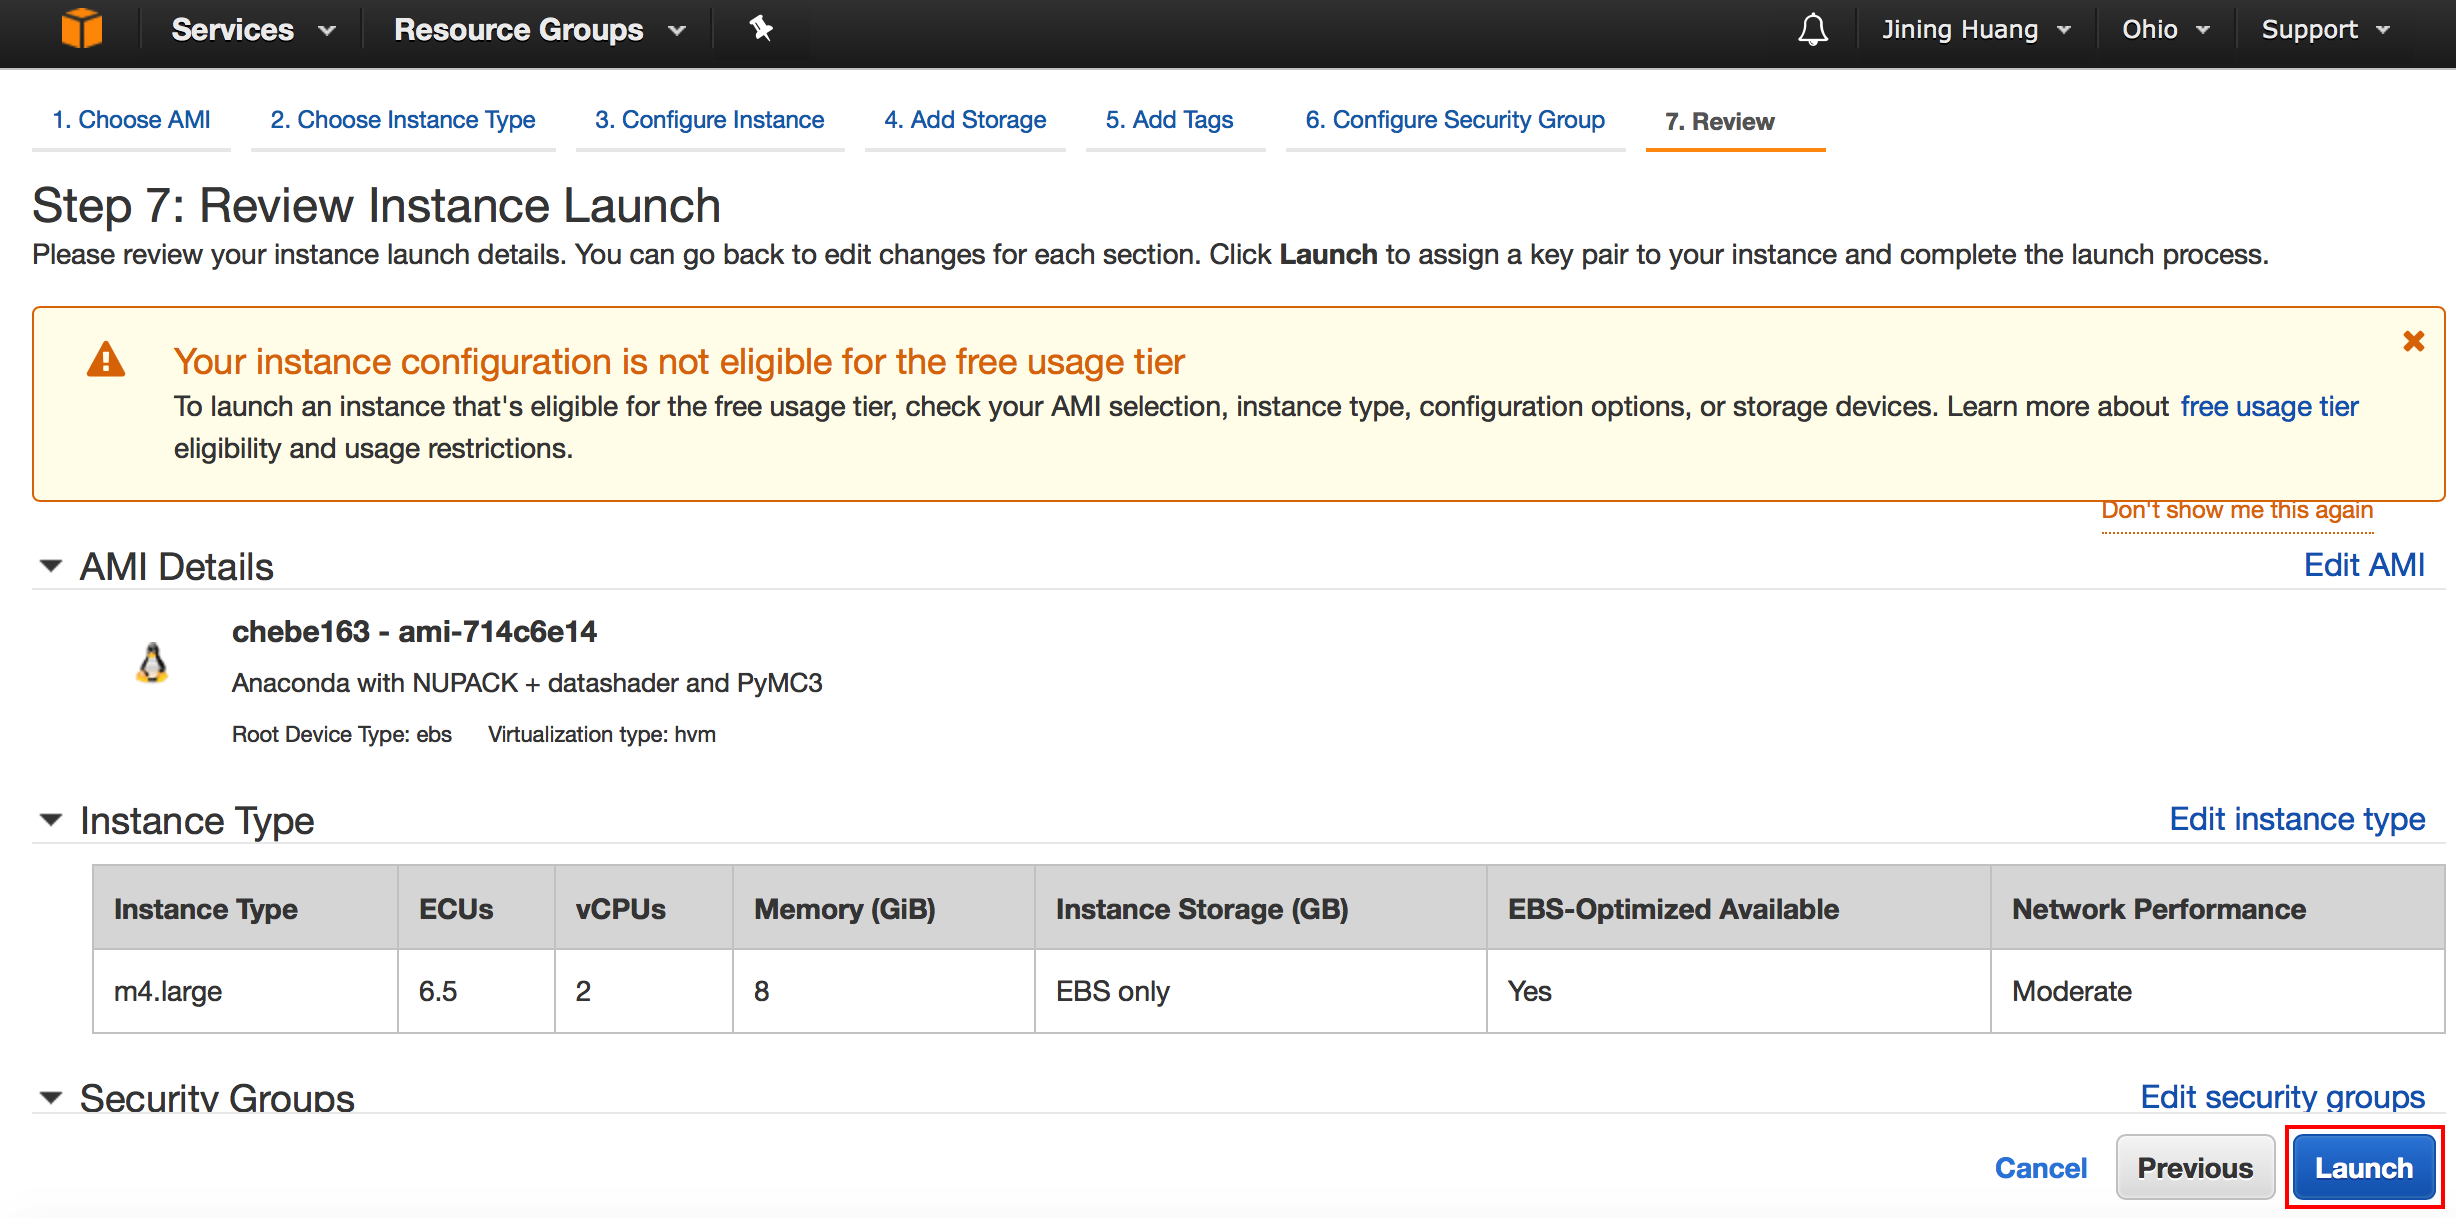
Click Launch.
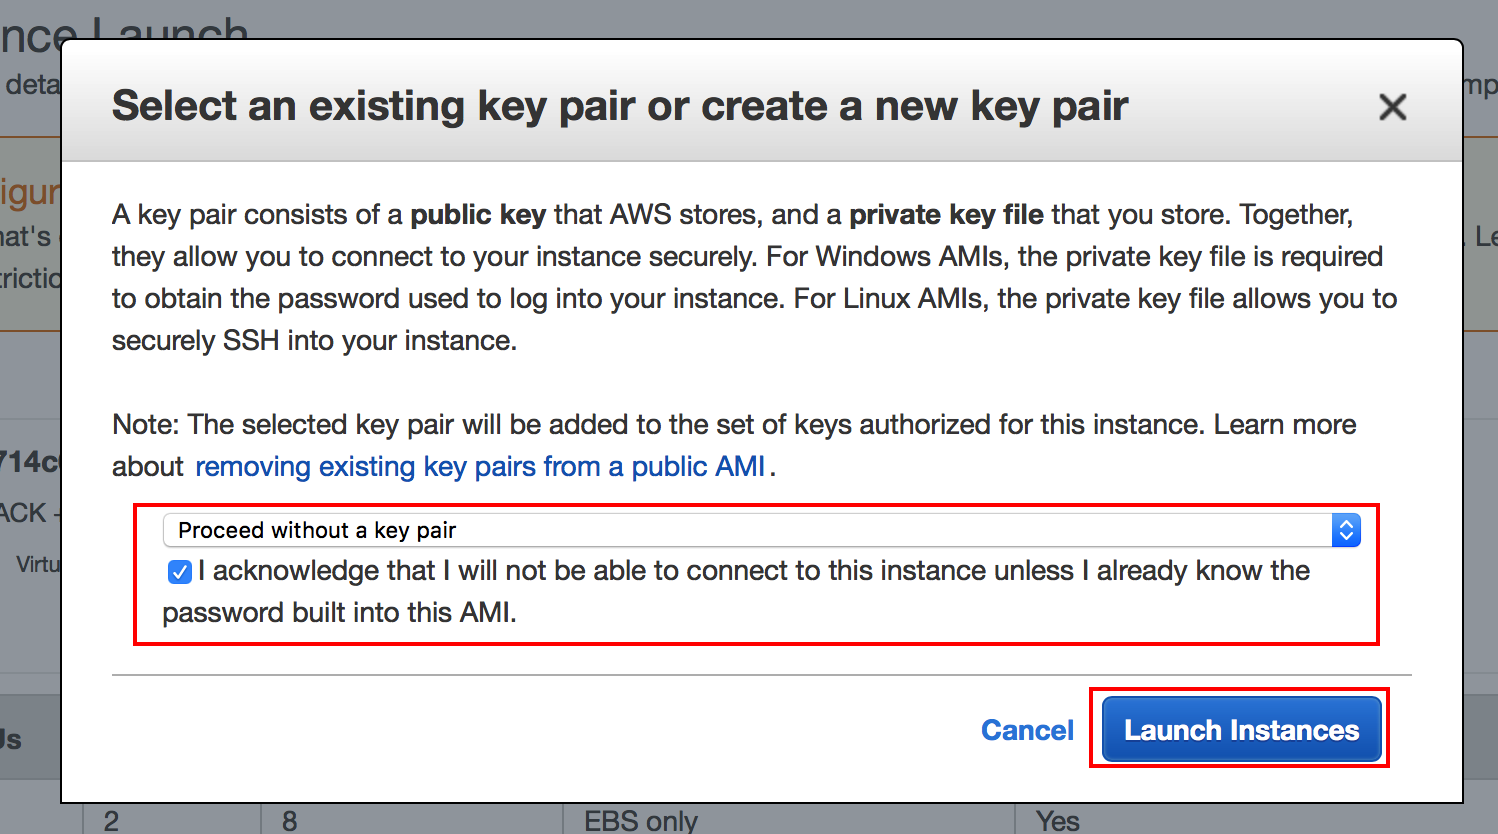
Select Proceed without a keypair and check the checkbox. Note: if you receive an error regarding account verification, try again in 10 minutes.
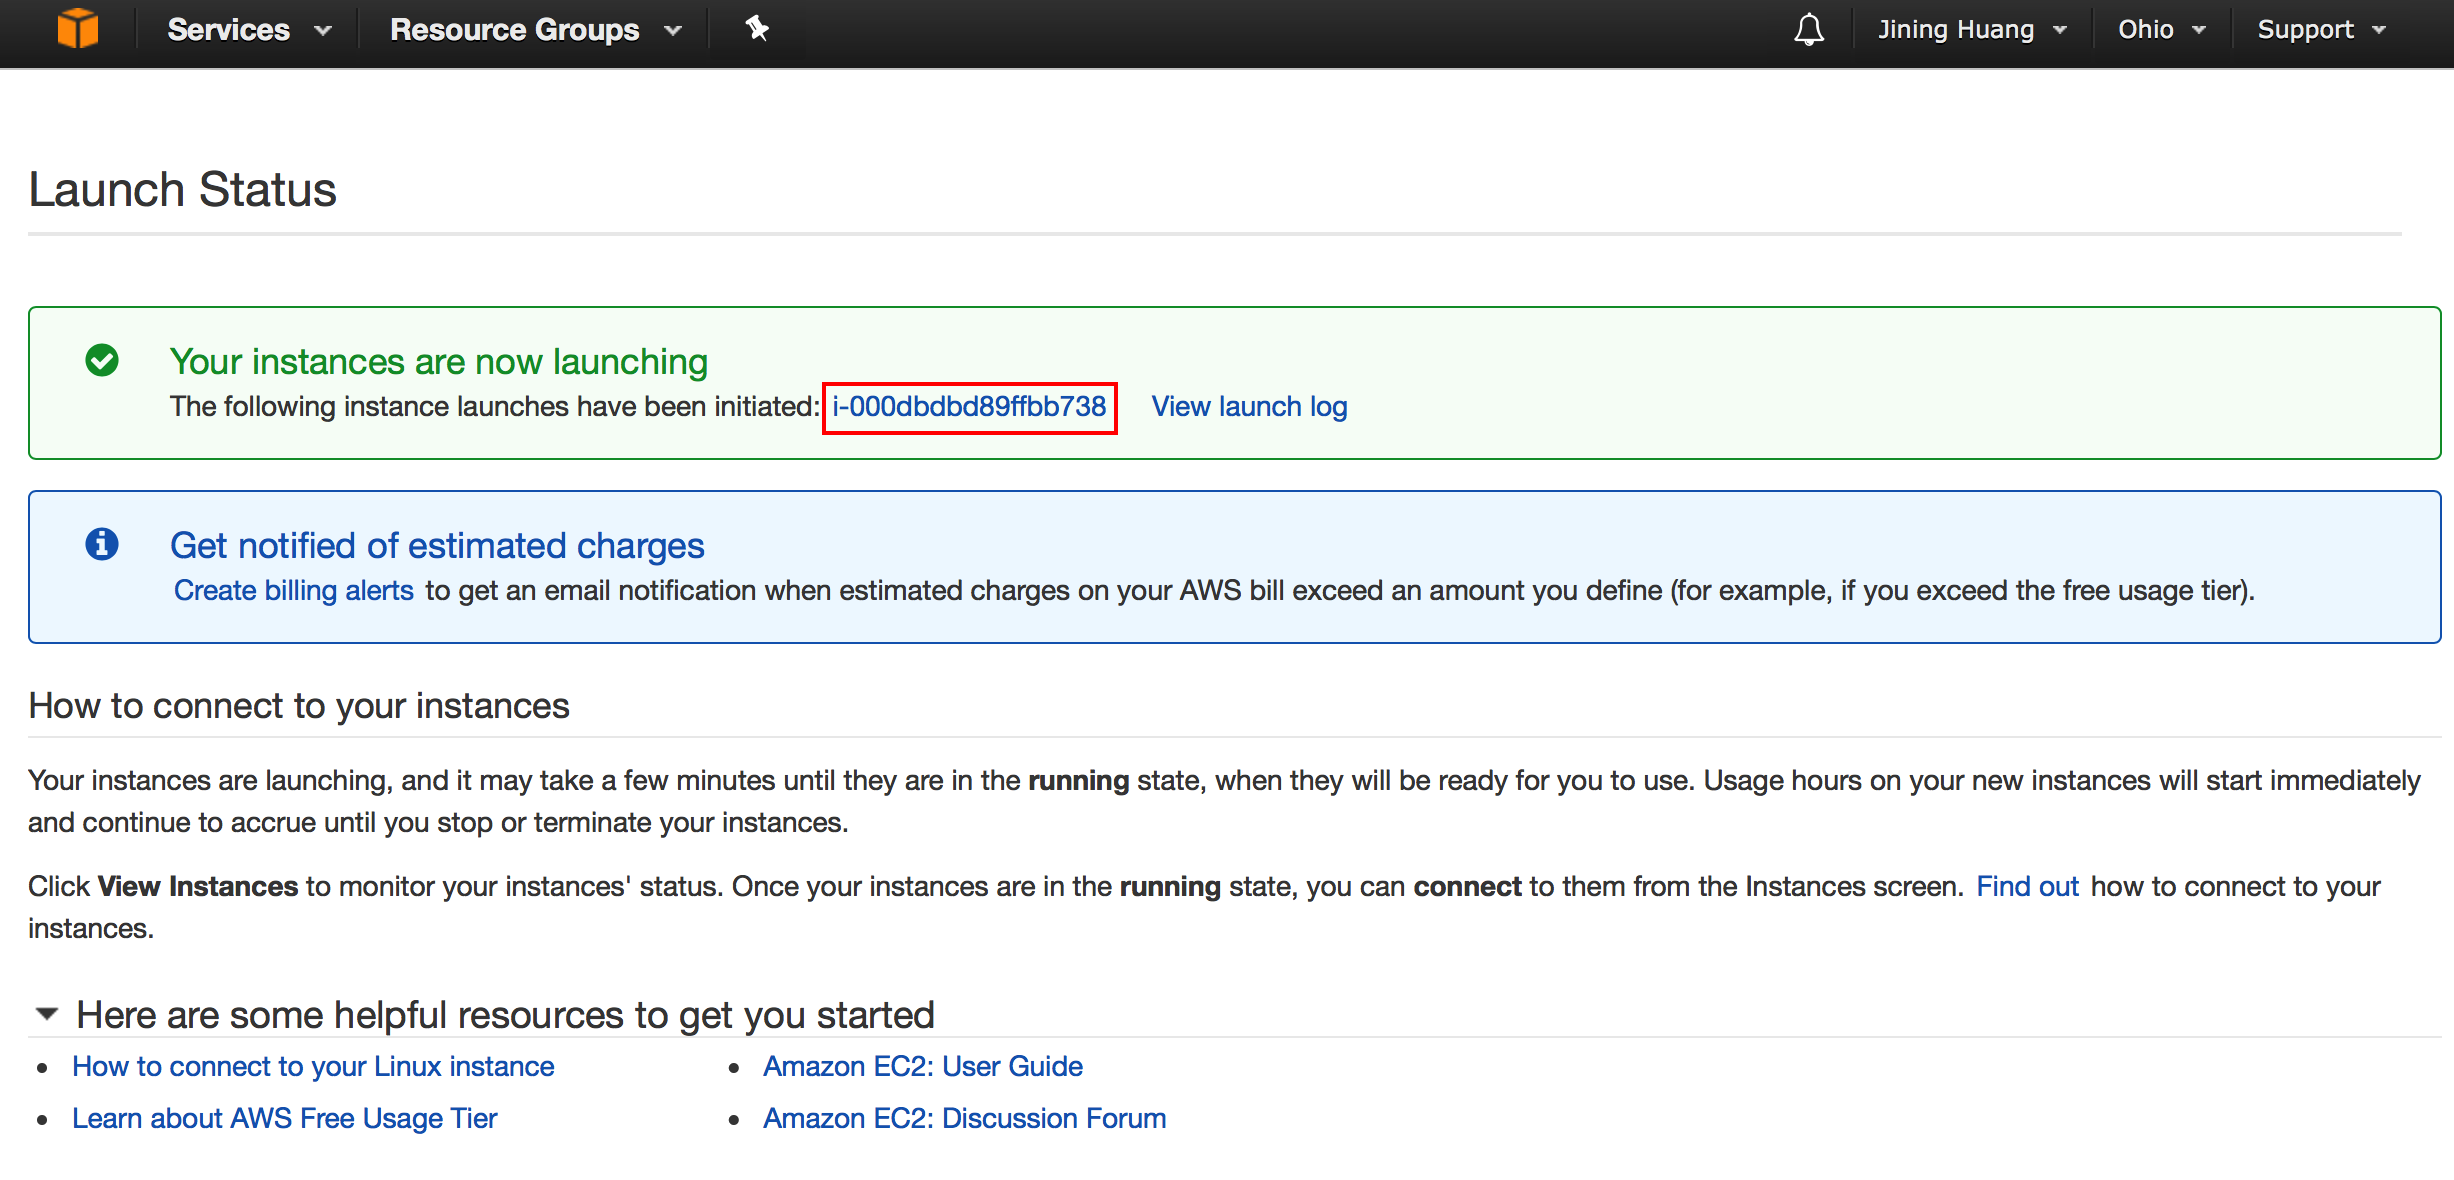
Click on the instance ID to go back.
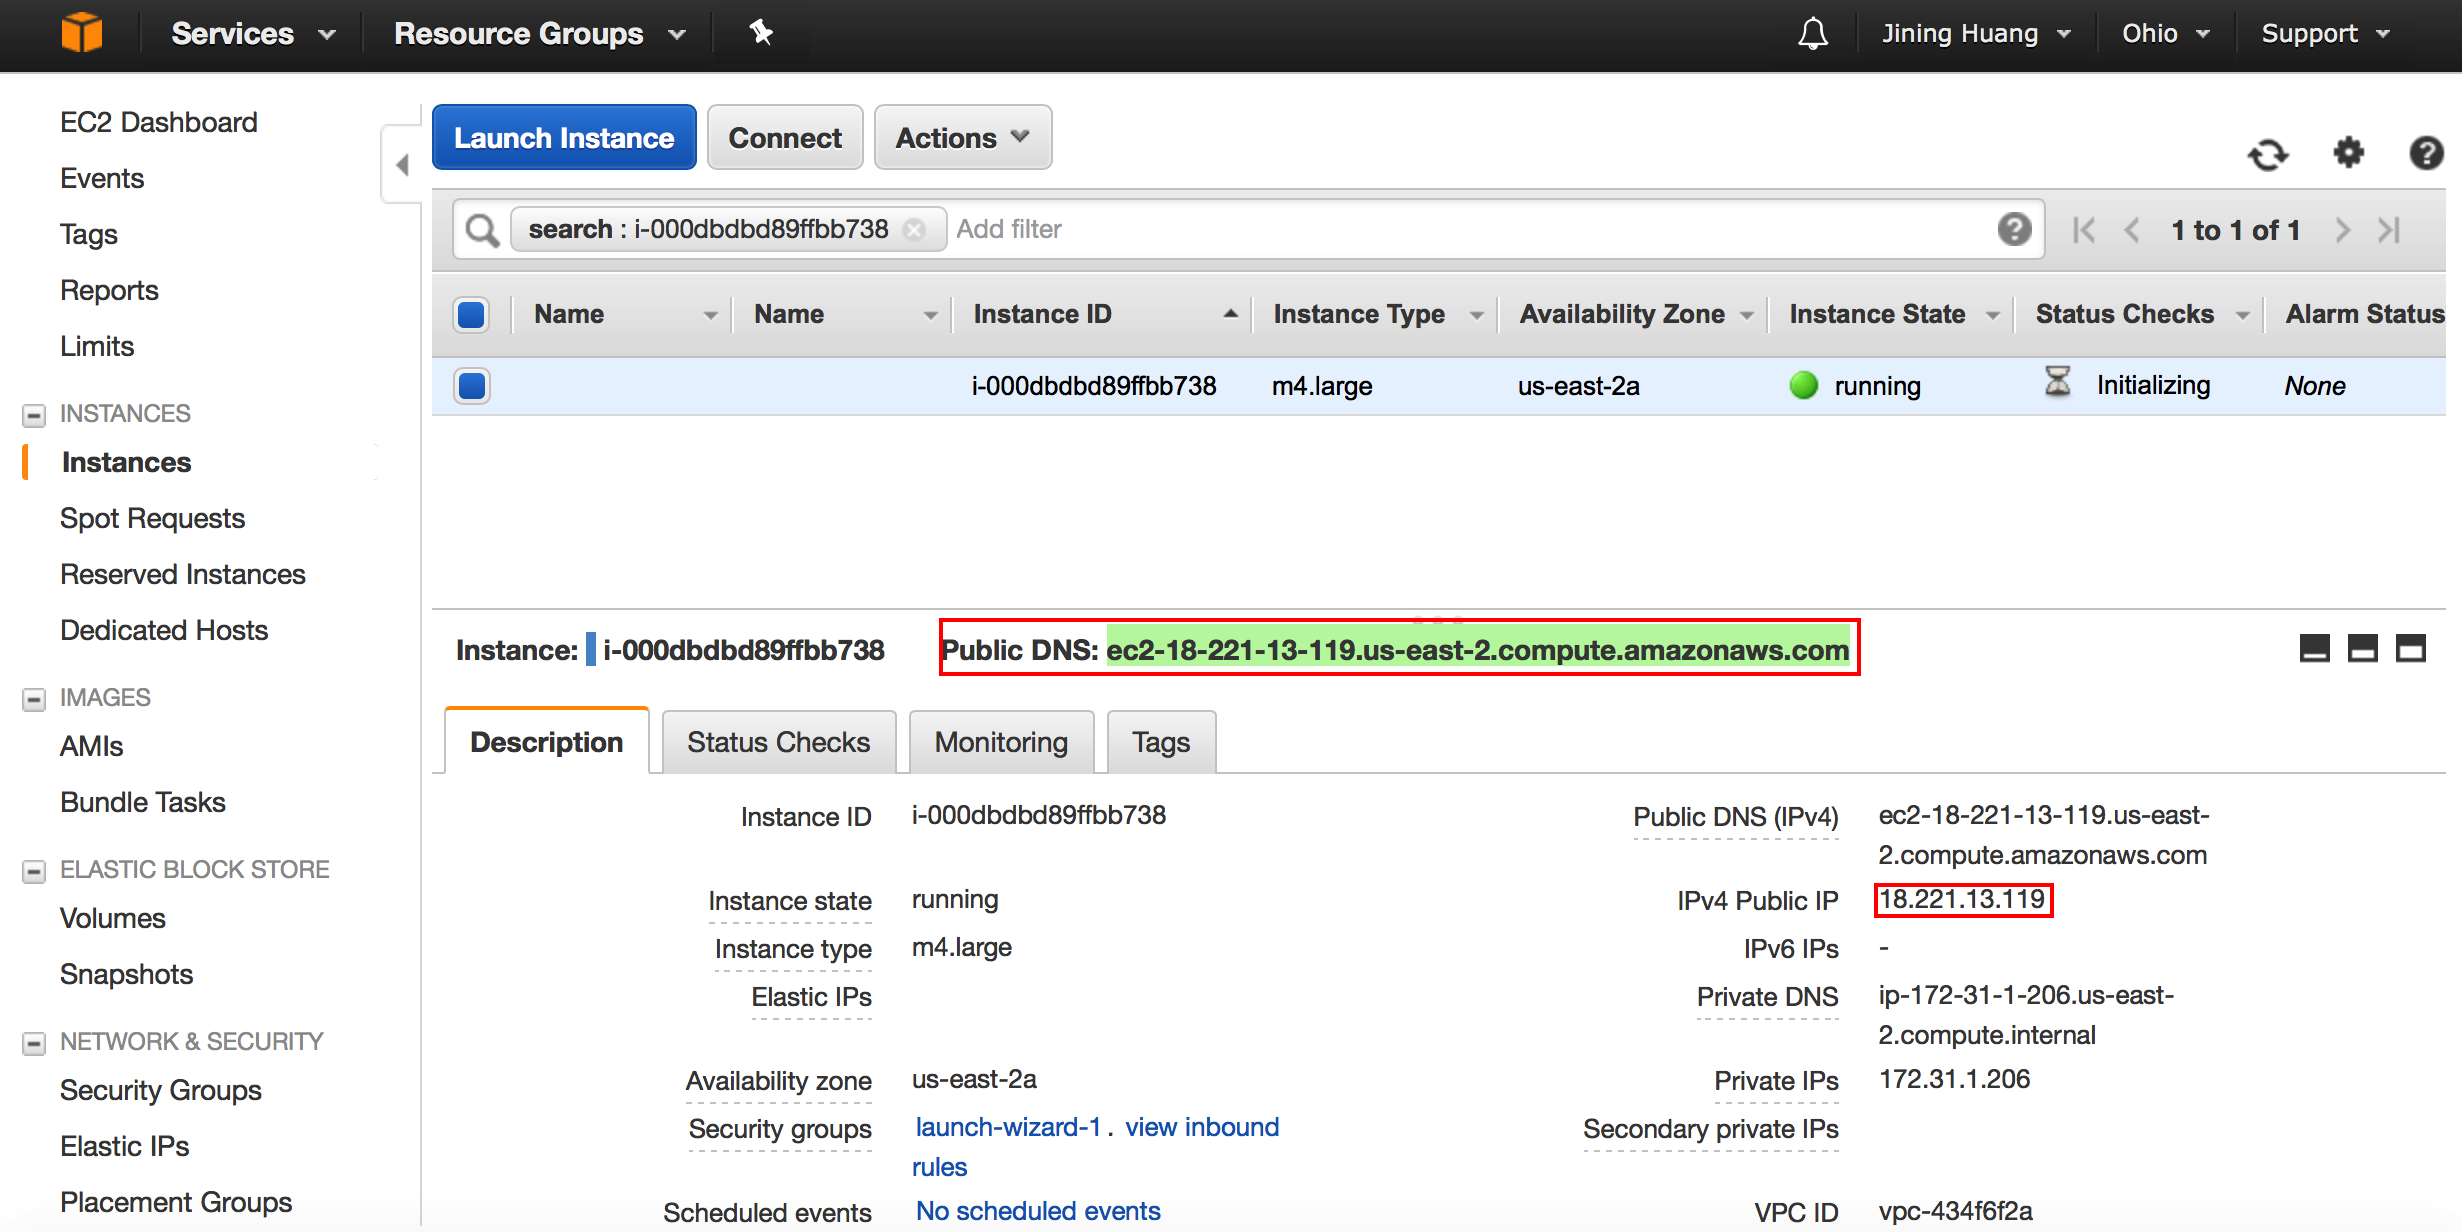
Copy the Public DNS URL shown below or the IP address onto a browser.
Getting Started with Jupyter
The password to enter the Jupyter notebook will be given in class.
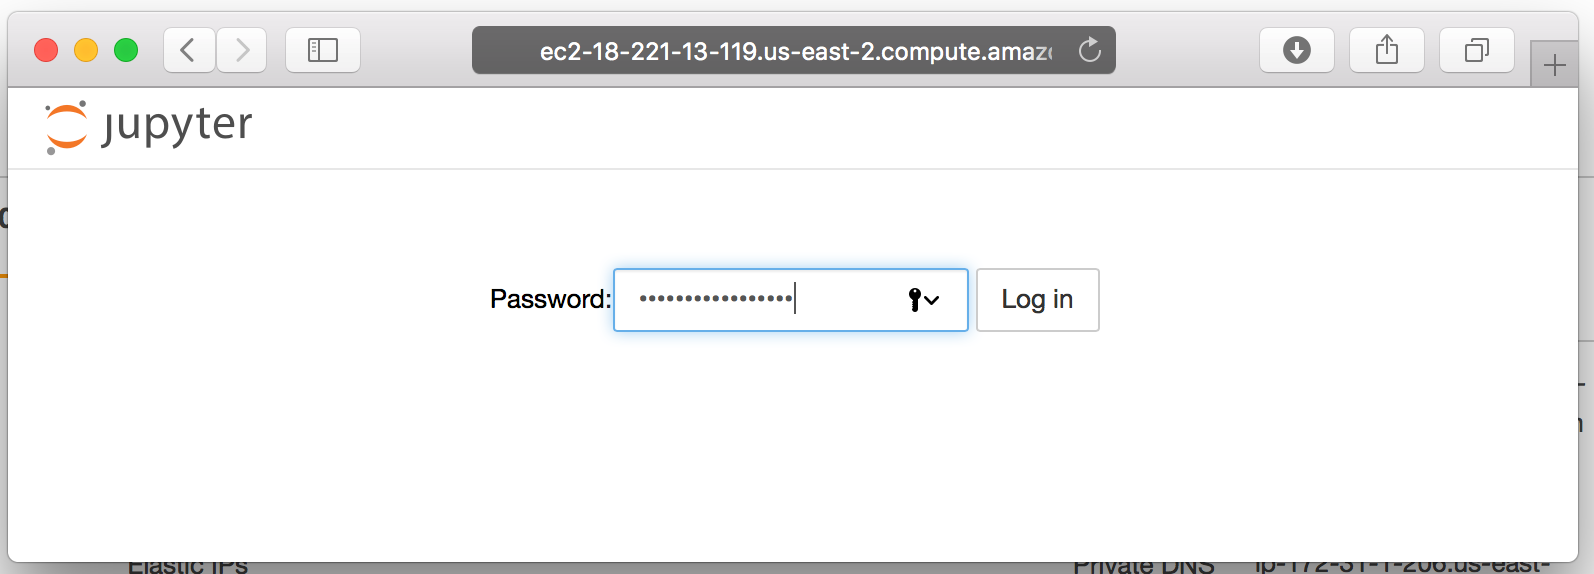
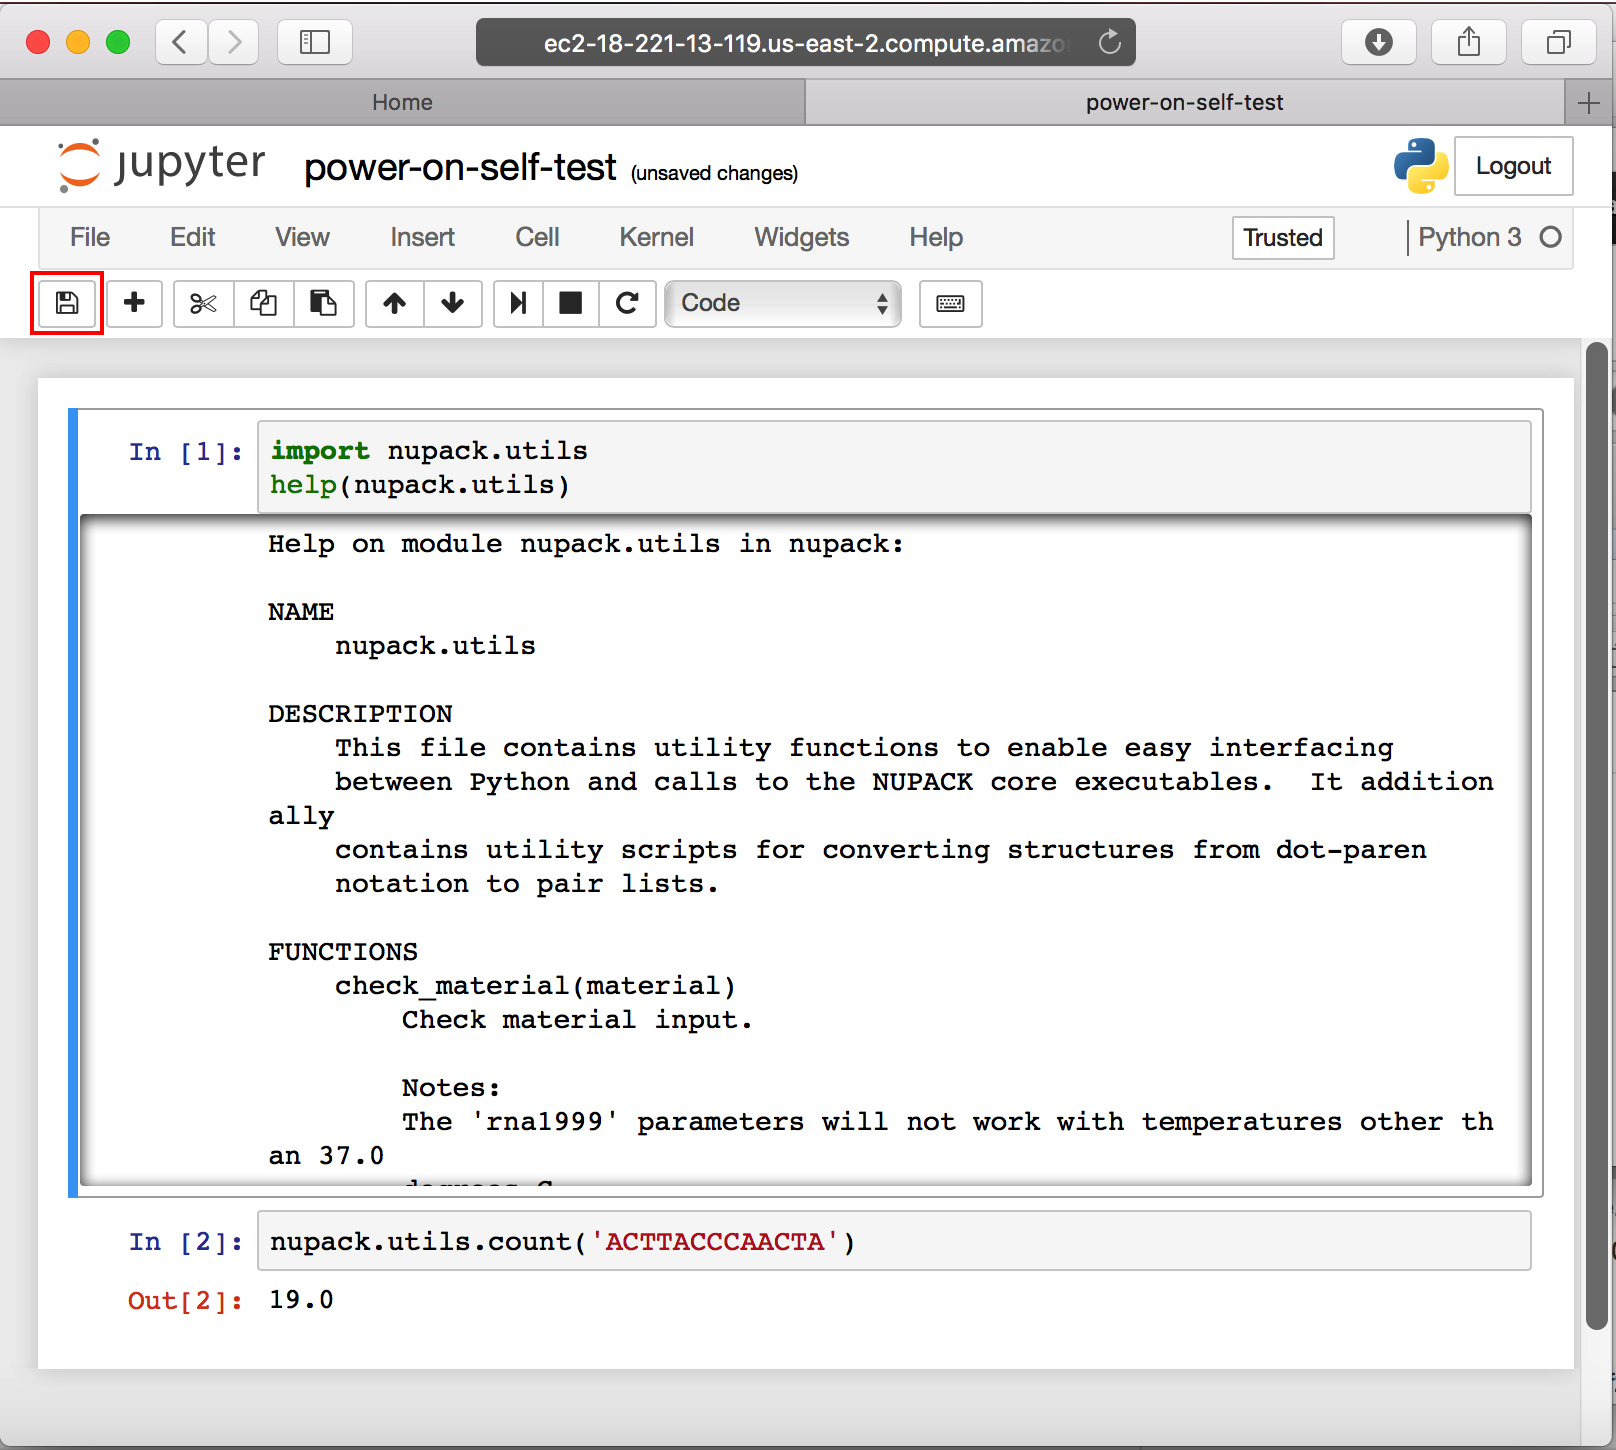
Click on the power-on-self-test.ipynb file and run its contents to make sure the installation is fully functional. To run a code block in Jupyter Notebook, highlight it by clicking on it, then press shift+enter. You should see the documentation on the NUPACK python interface in the first output box and 19.0 in the second output box. When working on the homework set, make sure to save frequently.
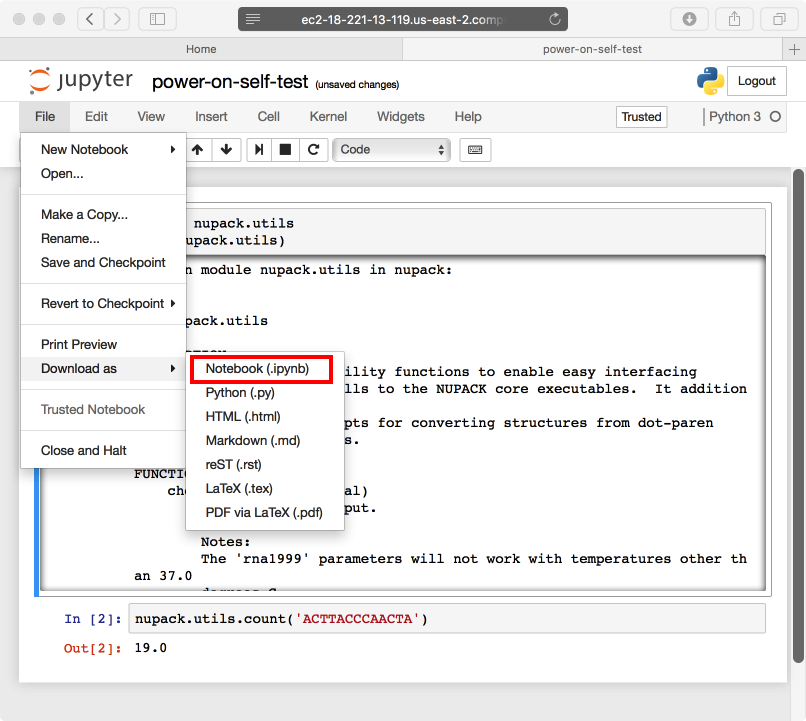
When submitting your homework, please include a Jupyter Notebook file. To download this file locally, click File -> Download as -> Notebook.
Uploading and Downloading files
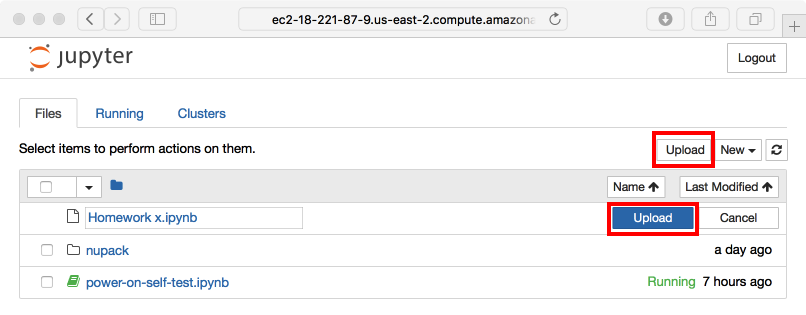
To upload a file, click the Upload button shown below, select your files, and click the Upload button next to the file name.
To download an entire directory, create a new notebook in the directory you wish to download and run the following code. A jupyter.tgz file should be generated in the directory. This file can be downloaded and opened with 7-Zip on Windows or the built-in archiver in macOS.
import tarfile

f = tarfile.open('jupyter.tgz', "w:gz")
f.add('.')
f.close()
Advanced Usage
If you are familiar with EC2 and the Linux shell, you may log onto the instance directly with the user name chebe163 and the password given in class. This user has sudo privileges.
Stopping and Starting an Instance
AWS is not a free resource. It costs $0.1 per hour to run a m4.large instance and it costs $0.1 to maintain 1GB of files per month. You will need to stop your instances when you are not using them; otherwise Amazon will continue to charge you for the running instances. You can stop your instances when you're not using them and start them back up when you need them again without losing your files. A stopped instance does not incur compute costs but will still incur the storage costs (approximately $0.5/month for this course if your AWS account is over 1 year old).
To stop an instance, go to the EC2 dashboard (follow steps 9 and 10), click on Instances, click the checkbox next to your instance, click "Actions" on the top menu, and select Instance State -> Stop. Note: the image used for this class does not utilize ephemeral storage, so please click Yes, stop in the warning regarding ephemeral storage.

To start an instance, go to the EC2 dashboard (follow steps 9 and 10), click on Instances, click the checkbox next to your instance, click "Actions" on the top menu, and select Instance State -> Start.
Terminating an Instance
At the end of the course, you may wish to terminate your instances (after having backed up all your files). This will remove your instance as well as the storage associated with it, eliminating your AWS bill entirely. To terminate an instance, go to the EC2 dashboard (follow steps 9 and 10), click on Instances, click the checkbox next to your instance, click "Actions" on the top menu, and select Instance State -> Terminate.